
3 Tips for Up-selling your albums the RIGHT way

Hey guys! Melissa Jill -- Align's owner and retired wedding photographer -- here again to continue our series on successfully selling albums and pricing for maximum profit. In a recent post, I shared why you should be up-selling your albums and that there is a right and wrong way to do so. Today I'm going to share three tips for doing this the right way.
1 -- Educate clients up front
In order to make sure your clients have a great experience with you and your album workflow, you need to be very clear on your process up front. Let them know in your initial client meeting -- before they even hire you -- that you will likely design their album with more spreads than what comes included in their package. Let them know that you do this as a service to them. That right now, it's hard to know how many images they will want in their album since they haven't seen them, and that by designing an album that tells the story of their day in an ideal way, they will have options. Whenever I explain our process in this way to potential clients, they nod in agreement. It makes sense to them and they are on board.
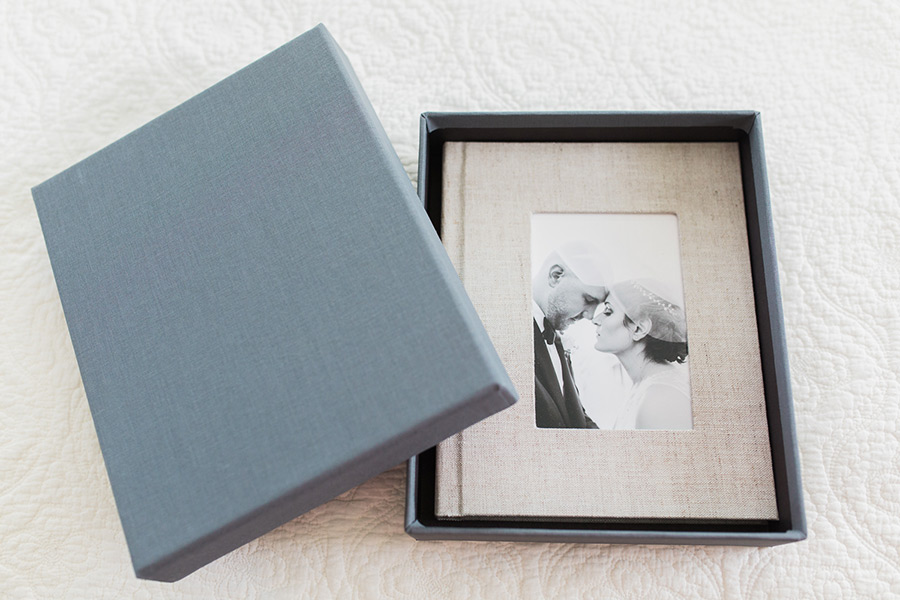
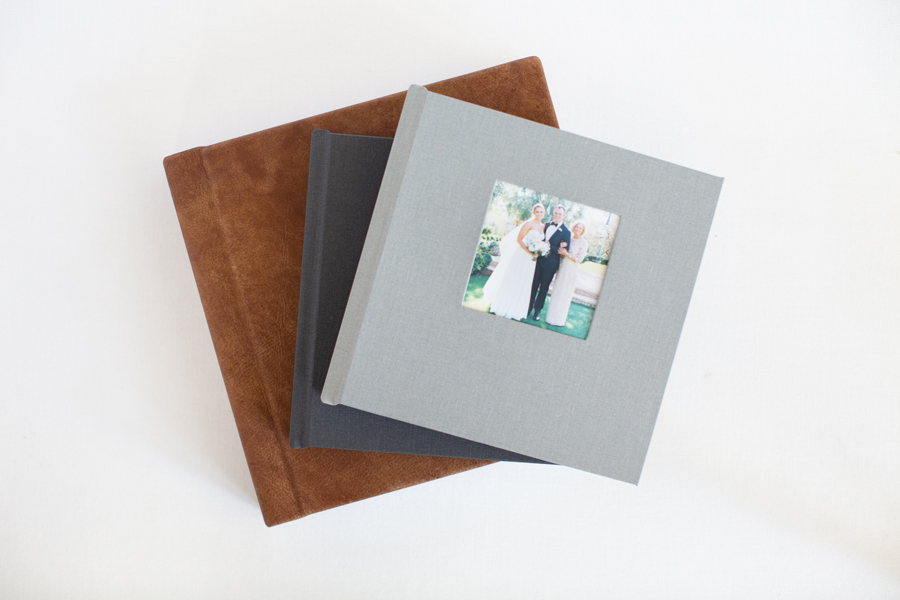
Another way that I communicate this is in the verbiage of my package and pricing information. Rather than including a specific album in a package, I include an album credit. My album credits are $1,700 or $3,000, and each amount is enough to purchase each of the albums I offer with the minimum number of spreads. So I can point to my Queensberry Duo album (a version of which is pictured above -- this set of albums purchased by my clients was a result of an upsell -- both the couple's album and the parent album ended up with 30 spreads and the client spent a total of $7,500 on their albums alone!) and let them know that the $3,000 credit will cover that album with 16 spreads. But the fact that it is worded in the package as a "credit" indicates that they may choose to spend more on their final album after the wedding. The credit is a way for them to set aside money toward their album pre-wedding with the option to upgrade later.
2 -- Allow clients to narrow down the design
Once your client sees the initial design, give them the option to narrow it down by deleting spreads. So in the example above, if I have a Queensberry Duo designed with 25 spreads and the client paid for 16 spreads in their package, they have the option to delete 9 spreads and have no further financial obligation. But at least they are seeing something ideal and given the option to upgrade. Like I mentioned in my last post, many clients do decide to upgrade because they love their images so much. But obviously there should be no obligation to do so.
3 -- Charge per additional spread
When you are presenting an option to upgrade, price based on the number of spreads that the client chooses to upgrade by. As photographers, that is what we are charged for by our album company, so we should also charge this way to cover our costs. "How do you figure out how much to charge per spread" you ask? Easy! Divide the price of the album in your package by the number of spreads included for that price, and round. That's your per-spread price for the upgrade. Mine is $100 or $190 depending on the type of album they order.
These are my three tips for up-selling the right way! If you educate clients clearly up front, give them the option to narrow down the design to just what they ordered, and charge per spread for any upgrades, you will maximize your profit AND your clients will be on board and thrilled with the process!
Check out my next blog post in this series in which I share how up-selling helps many Align Album Design clients cover their outsourcing costs for album design PLUS make bonus profit!
If you found this post helpful and would like to receive tips like this straight to your inbox, click here to sign up!
1 -- Educate clients up front
In order to make sure your clients have a great experience with you and your album workflow, you need to be very clear on your process up front. Let them know in your initial client meeting -- before they even hire you -- that you will likely design their album with more spreads than what comes included in their package. Let them know that you do this as a service to them. That right now, it's hard to know how many images they will want in their album since they haven't seen them, and that by designing an album that tells the story of their day in an ideal way, they will have options. Whenever I explain our process in this way to potential clients, they nod in agreement. It makes sense to them and they are on board.
Another way that I communicate this is in the verbiage of my package and pricing information. Rather than including a specific album in a package, I include an album credit. My album credits are $1,700 or $3,000, and each amount is enough to purchase each of the albums I offer with the minimum number of spreads. So I can point to my Queensberry Duo album (a version of which is pictured above -- this set of albums purchased by my clients was a result of an upsell -- both the couple's album and the parent album ended up with 30 spreads and the client spent a total of $7,500 on their albums alone!) and let them know that the $3,000 credit will cover that album with 16 spreads. But the fact that it is worded in the package as a "credit" indicates that they may choose to spend more on their final album after the wedding. The credit is a way for them to set aside money toward their album pre-wedding with the option to upgrade later.
2 -- Allow clients to narrow down the design
Once your client sees the initial design, give them the option to narrow it down by deleting spreads. So in the example above, if I have a Queensberry Duo designed with 25 spreads and the client paid for 16 spreads in their package, they have the option to delete 9 spreads and have no further financial obligation. But at least they are seeing something ideal and given the option to upgrade. Like I mentioned in my last post, many clients do decide to upgrade because they love their images so much. But obviously there should be no obligation to do so.
3 -- Charge per additional spread
When you are presenting an option to upgrade, price based on the number of spreads that the client chooses to upgrade by. As photographers, that is what we are charged for by our album company, so we should also charge this way to cover our costs. "How do you figure out how much to charge per spread" you ask? Easy! Divide the price of the album in your package by the number of spreads included for that price, and round. That's your per-spread price for the upgrade. Mine is $100 or $190 depending on the type of album they order.
These are my three tips for up-selling the right way! If you educate clients clearly up front, give them the option to narrow down the design to just what they ordered, and charge per spread for any upgrades, you will maximize your profit AND your clients will be on board and thrilled with the process!
Check out my next blog post in this series in which I share how up-selling helps many Align Album Design clients cover their outsourcing costs for album design PLUS make bonus profit!
If you found this post helpful and would like to receive tips like this straight to your inbox, click here to sign up!

And exciting news! If you're a photographer who wants to start offering albums without investing hours of guesswork and trial and error -- we have a solution for you! Check out the Album Start-Up Kit and start maximizing your profit today!

-----------
Blog post written by: Melissa Jill
Blog post written by: Melissa Jill
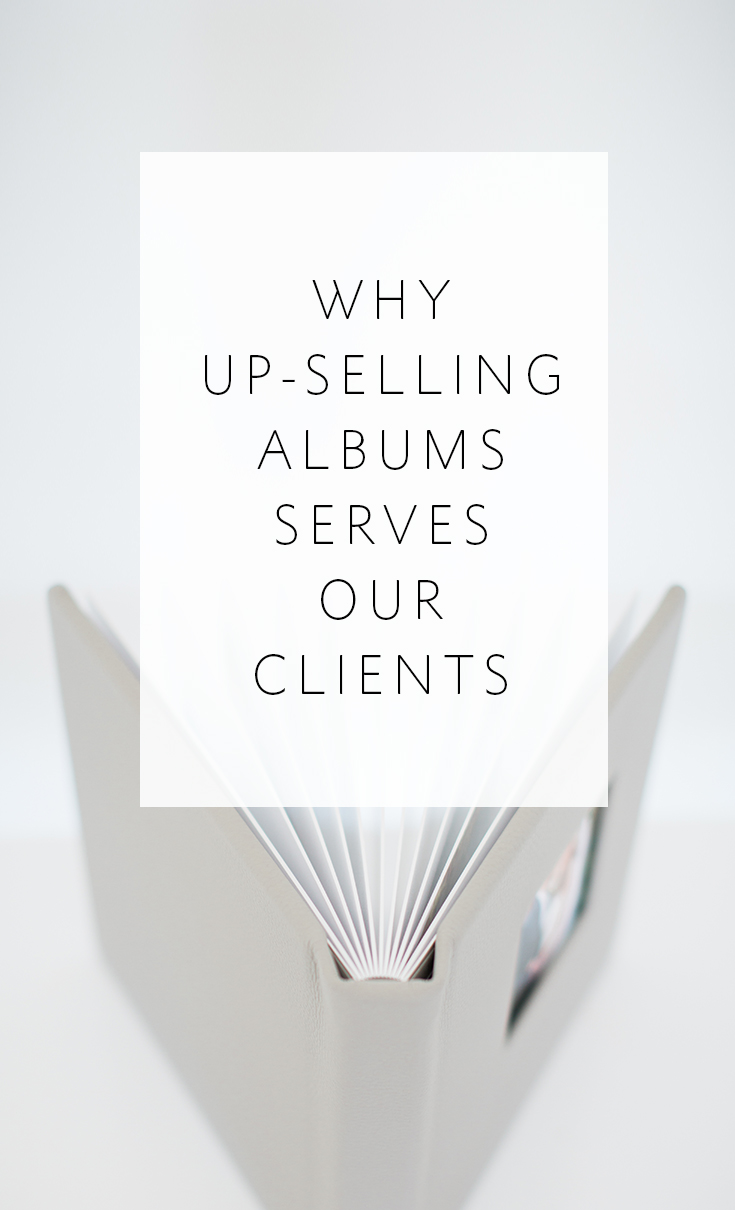
Why up-selling albums serves our clients

Hey guys! Melissa Jill -- wedding photographer and Founder of Align -- here! I've been sharing over the past months some of my experiences and tips on album sales and workflow that have allowed me to really build an efficient and profitable workflow and serve my clients well. Today I wanted to step into some really exciting territory -- the topic of up-selling.
If you've never considering up-selling your albums, you should. Up-selling can be done well or it can be done poorly. When done professionally and for the right reasons, up-selling can be a great service to our clients and increase our profit.
The reason we should up-sell albums to our clients is that we want them to have an ideal, gorgeous family heirloom. We know that in order for them to have the album of their dreams, it will need to be larger than what we can reasonably expect to sell them before we show them any photos of their wedding. We can show them a beautiful sample album in their initial client meeting and maybe persuade them to include $1,500-$3,000 toward their album in their wedding package. But once they SEE their wedding photos, they will likely want many more of their images in their album than we can include for that price. Our job as photographers is to design an album that is ideal -- that tells the whole story of the day in a beautiful way that isn't too cluttered or busy -- and then give the client the opportunity to purchase the ideal upgraded album, or stick with what they committed to in their original package. This isn't a bait-and-switch tactic, this is a service provided to our client that gives them options. They are not forced into spending more money, but they are given the opportunity to purchase something better.
I design all of my albums with more pages than the client orders. And I don't keep this a secret. My client is informed of this service before they even hire me. If a client orders an album with 17 spreads in it, I typically provide them an initial design with 25-35 spreads, just depending on what is ideal for that particular wedding. They then have the option to narrow down the spreads to just the 17 included in the package, or they can choose to upgrade at that time. Most of my clients choose to upgrade by at least a few spreads; many upgrade to the full design presented to them.
Jessica, the bride in the above-pictured album, was on yearbook staff in high school. She highly valued photography and made sure to communicate that to me. I remember at her reception, her mother pulled me aside and told me that I needed to design Jessica a very large album because she was going to want all of her photos in it! I'd never heard that request from a mother-of-the-bride, but I took her words to heart. I designed what I thought was a HUGE album for Jessica. She ordered 17 spreads in her package, and I had her initial design created with 36. Over double. I sent it off to her and waited to hear back. Jessica replied to me within days and raved about the album design. She told me she loved everything about it, but there was only one problem:
It wasn't big enough.
She had me add 3 more spreads to the design and ended up purchasing a wedding album with 39 spreads (78 pages) in it. She spent $2,000 towards her album in her initial package and an additional $2,100+ afterwards in upgrades and parent albums. This experience solidified for me the power and importance of up-selling. We need to show clients what they will ideally want, but might not be willing to commit to before they see their photos.
If you're interested in learning more about up-selling, check out the next posts in this up-selling series:
3 Tips for Up-selling your albums the RIGHT way
How to cover your album design costs and make a bonus profit!
If you found this post helpful and would like to receive tips like this straight to your inbox, click here to sign up!
And exciting news! If you're a photographer who wants to start offering albums without investing hours of guesswork and trial and error -- we have a solution for you! Check out the Album Start-Up Kit and start maximizing your profit today!

-----------
Blog post written by: Melissa Jill
Blog post written by: Melissa Jill
Speedy workflow = Happy Clients + Higher Sales

Hey guys! Melissa Jill here! I'm not only the owner and founder of Align, but I am a wedding photographer who has been shooting weddings for nearly 2 decades. For my workflow, speed has always been key. I've reworked my delivery schedule numerous times as I've observed and learned about client psychology. And today I want to share with you how you can help your clients to love your favorite images from their day THE MOST, as well as how you can ensure that they love their initial album design, requiring fewer changes, and producing higher sales.
We live in an age of instant gratification where immediacy is expected of any service or product. But for me, there is an even more important reason to focus on speed. After a couple is married, their emotions are running high. They just enjoyed the most important day of their lives and they are on cloud nine. This emotional high lasts for a few days, maybe a week at the longest. Then it begins to drop off as their focus shifts to other adventures -- maybe moving into a new home or planning for their next trip. If we want our clients to attach these intense emotions to the wedding images we photographed for them -- we have a very short window of time in which to facilitate that. Sure, they may love their images if they see them weeks or months after their wedding day, but by then, the emotional attachment will not be as strong as it is in the days following the event.
And so it follows that if you want your clients to LOVE their images, speed is key. They will love them more the sooner they see them. And if we are strategic about how we deliver their images, we can also persuade our clients about which images are the best and even which album design best tells the story of their day.
Since I started shooting film in 2014, I have had to adjust my delivery schedule a bit, but prior to that, when I was shooting all digital, this is what my schedule for image and album design delivery after a Saturday wedding looked like:
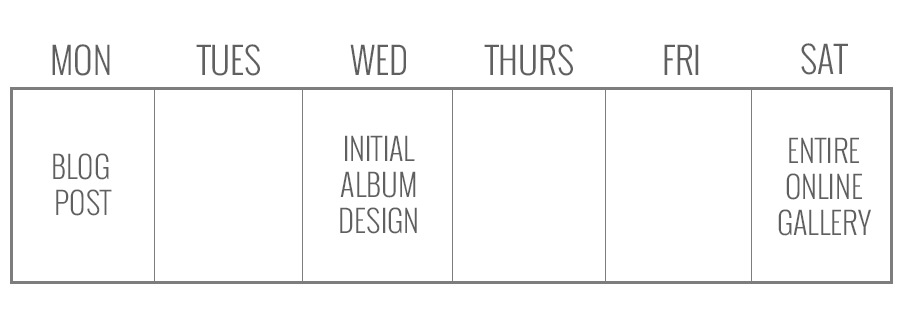
1 -- Blog Post
I culled the entire wedding, rating all of the images with the following: 3 stars for favorites (80-100 images), 2 stars for additional album images (100-150 images), 1 star for the rest of the images I want to deliver to clients (300-400 images). (These numbers are based on a 9-hour wedding with two photographers.) I deleted all of the unrated images immediately after culling. I color corrected the 3-starred images and pulled 30-40 images from these to create a blog post. By posting my favorite images on the blog so quickly after the wedding, I ensured that my clients fell in love with them, because they see them first, look at them over and over in the coming days, and attach to them the high emotions they are feeling.
2 -- Initial Album Design
My office manager then color corrected the 2-starred images and sent them and the favorites (in two separate folders) to Align so they could work their magic. The initial design is guaranteed in four business days, but typically only takes 1-2 days before showing up in my inbox. I used to put the entire wedding gallery online before creating the initial album design for my clients. But in recent years I flipped the order of these two tasks. That way my client is seeing an initial album design with even more images than they saw on the blog post, but without yet being overwhelmed by the entire gallery of 500-800 images. In my email I let them know that they will be able to swap out images and make changes once the entire gallery is online, but that they don't need to worry about that just yet. They can enjoy the album design while we work to get the rest of the images online. That way they spend a few days viewing their design over and over again. This often results in clients falling in love with their album design just as it is and requiring very few changes. They are seeing the story of their day, designed beautifully, while their emotions are still high from the event just a few days before.
3 -- Entire Online Gallery
My office manager then color corrects the 1-starred images, sorts all of the images, and puts the gallery of all 500-800 images online for the client to view. I email the client a few days later with instructions for how to make their revisions to their album design using the image names from the gallery.
This workflow has been extremely successful for me -- my clients are thrilled with the turn-around times and love their images and albums. I know it may seem very ambitious to attempt to turn around everything so quickly -- especially if you run your business on your own -- but it is possible. If you don't have an office manager to help you with the color correction, you can outsource to ShootDotEdit -- our partner in image processing -- and extend this workflow by just a day or two (they turn around jobs in as little as 48 hours). Delegation or outsourcing are key to speedy workflows, and in the coming weeks I will talk about how you can up-sell your albums to create higher sales and cover these costs. Although I will go into more detail about how to increase your sales in future posts, it is important to note that your turn-around times DO directly impact your sales because of the emotional attachment that clients make to their images and album design. The stronger the emotional attachment, the more they will be willing to spend. They will want everything you have to offer them if you can help facilitate their decisions within those first few weeks after their wedding. If your workflow takes longer, you will miss out on that window of opportunity, as the client will have moved on to spending their money on other things. SPEED IS KEY!!
That being said, I wanted to throw a bonus your way and share with you what I have found to be the #1 time-saving tool to speed up my workflow. This tool saves me time on client communication, freeing me up to facilitate the workflow I've described above. The best thing is, this tool is free and quick to implement. It's definitely a game-changer! Click here to sign up to download this time-saving hack for free today!


-----------
Blog post written by: Melissa Jill
Blog post written by: Melissa Jill
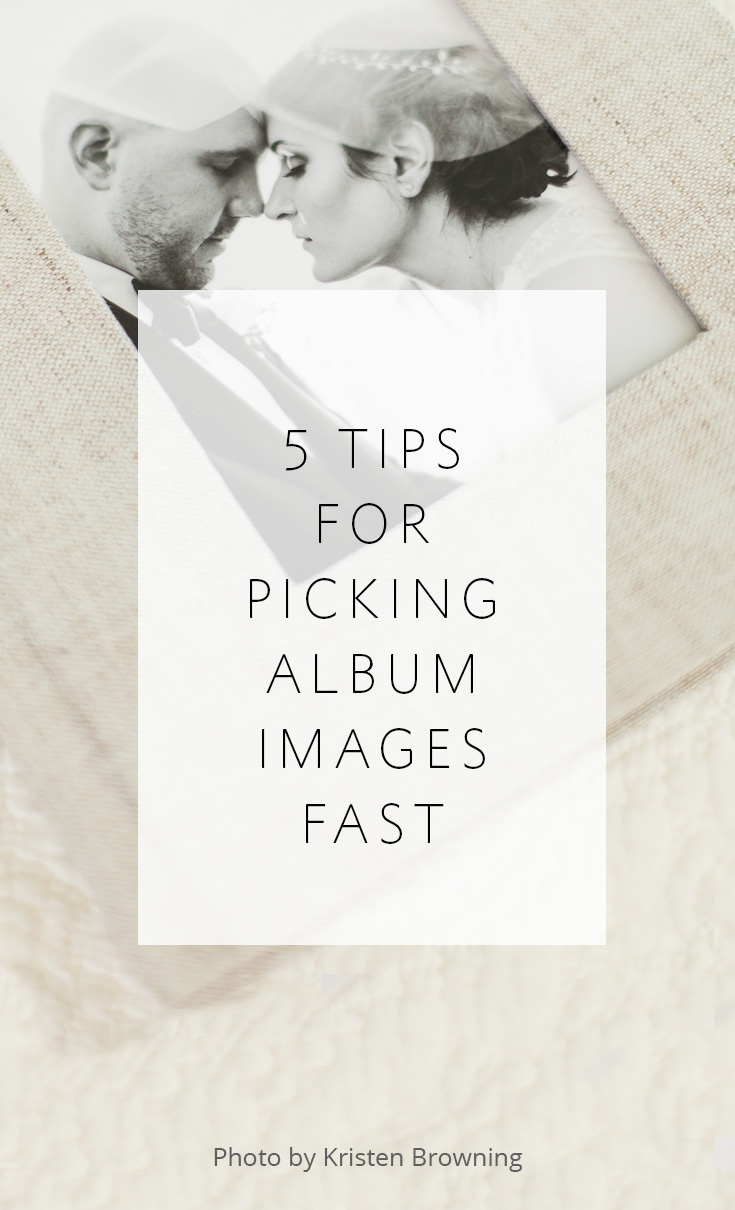
5 tips for picking album images fast
above image by Kristen Browning Photograpy
The process of image selection for an album design can be more of a hassle than it truly needs to be. Many photographers get hung up on this step in their workflow, but there is hope! When done right, picking images for the album design can be fast and easy.
Here are our 5 tips for picking album images fast:
1 -- Pick the images yourself; don't wait for your clients.
I talk about the benefits of pre-designing in depth in this post (read it if you are still asking your clients to pick their images -- it will rock your world!!) but one of the main benefits is that your workflow will not be hung up by waiting on your clients. You can get an album designed within weeks of the wedding. PLUS this takes an unnecessary burden off of your clients' shoulders and allows you to create an initial album design that uses your best images and serves as a starting point for their changes.
2 -- Cull one time.
Don't make image selection for your album designs a separate step in your workflow. When you cull through images from a wedding, do it ONLY ONCE and make all of your choices in that first pass-through. This tip is so key that I'm going to share two different examples of how various photographers do this so hopefully one of them will resonate and make sense for you:
Example A: Melissa Jill (that's me!)
I cull my images once and rate them strategically according to intended use. I cull in Lightroom and rate my images as follows:
3 stars -- my favorite images I will pull from for the blog post, publication submission and my website portfolio (80-100 images)
2 stars -- additional images for the album design (100-150 images) These are typically family portraits, more getting ready images, and dancing images, and are used along-side the favorites to create the album design.
1 star -- additional images for the full gallery (300-500 images)
So on PASS, my online gallery solution, the client will see 500-800 images total (all of the images with a rating of 1, 2 or 3 stars). Their album will be designed from approximately 200 image options (some of the images with 2 or 3 stars -- I send them all to Align and allow my designer to choose which 2 star images to include). And my blog post will include about 30-50 images (some of the images with 3 stars).
Example B: Abby Grace
Abby Grace is an Align client and she also culls only once, but she eliminates the step of rating images for the album design all-together. She selects favorites in her initial cull and sends only those images to Align for the initial design. Then she has her Align designer include one blank spread in the album design that says "family portraits" and 1-2 blank spreads that say "dancing" at the appropriate places in the design. When she sends the initial draft to the client for revisions, she asks them to select a set number of images for each of those spreads. That allows her to skip selection of family portrait and dancing images when picking her favorites and saves time on revisions for those spreads. By giving her clients a very specific number and type of images to select, it ensures that they won't be paralyzed and overwhelmed by the task.
Regardless of which route you choose, make sure you are rating your images for every type of use rather than culling once for the client, once for the album design and once for the blog post or Facebook.
3 -- Be selective.
When choosing images for your albums, be very critical and pick only your best. The average album designed by Align has 18 spreads and an average of only 90-100 images. That's not a lot. When culling, make sure you don't pick images that are too similar. Pick the best one from each set of similar images and move on.
4 -- Choose for cohesion.
Even though you don't want to select images that are SUPER-similar, you do want to pick enough images from the same portrait location or event during the course of the day to allow for your designer to make cohesive spreads. Make sure you select enough bride and groom portraits for 3-4 spreads (at least 20 images minimum), and make sure every image has at least one buddy that works with it. Include both horizontal and vertical images to help aid in the ease of the design.
5 -- Include images that fill out the story.
It's obvious that you need to select images full of emotion and action that lead the viewer through the story of the day. But don't forget to include scene-setting images that introduce each location (shots of the inside & outside of the venue), as well as detail photos from each part of the day to help fill out the story and add dimension and interest to the design.
Hopefully one or more of these tips will help streamline your workflow and make image selection for your albums a breeze!
Since we're on the topic of workflow speed, I wanted to throw a bonus your way and share with you what I have found to be the #1 time-saving tool to speed up my workflow. The best thing is, this tool is free and quick to implement. It's definitely a game-changer! Click here to download this time-saving hack for free today!
Since we're on the topic of workflow speed, I wanted to throw a bonus your way and share with you what I have found to be the #1 time-saving tool to speed up my workflow. The best thing is, this tool is free and quick to implement. It's definitely a game-changer! Click here to download this time-saving hack for free today!

-----------
Blog post written by: Melissa Jill
Blog post written by: Melissa Jill
How to Rename Your Images for a Smoother Workflow
Hey, photographers! Today I want to talk about a foundational, nuts-and-bolts aspect of your workflow that can really help streamline your album process: renaming your images.
There are a number of reasons that the naming of your images is so important when it comes to the rest of your album workflow:
1 -- Proper naming of your images equips your designer to easily sort your images and understand the flow of events so that they can tell the story of the day.
2 -- Renaming the images before your share them with us AND your clients will ensure that everyone involved in the album design process (photographer, clients, designer) will be referring to the same file names, reducing confusion and saving you from having to track down images of a different name when it comes time for the revision rounds.
If you systematize this process and make it part of your regular workflow, it will soon become easy and automatic for you, and a HUGE help to everyone involved -- especially your album designer!
So what is the best way to rename your files for the smoothest workflow?
We recommend renaming your files after culling but before delivering a gallery to your client and your album images to Align. Start by sorting the images into the proper order. It's usually easiest to sort by date and then click-and-drag any outliers manually into place. Once the images are sorted, rename all of the files into one consistent naming convention. Some popular naming conventions are:
(Last name of client)_001
(Last name of client)_(Studio name or acronym)_001
(Date)_(Last name of client)_001
Make sure that you are using a sequence number at the end that has the highest number of digits that you will need for the job. For instance, if you have 500 images you need to rename, start with "001" at the end of the first image. If you have 1100 images you need to rename, start with "0001". This will ensure that images can be sorted properly by filename. In addition, make sure to either use "_" or "-" and steer clear of any odd characters such as "!" or ":".
And here's how to rename files with a few popular software options:
Lightroom -- on the Library Module (grid view), Select All and click Library -> Rename Photos
Adobe Bridge -- Select All and then click Tools -> Batch Rename
Photo Mechanic -- Select All and then click File -> Rename Photos
That's it! Now you're ready to upload the gallery for your clients AND send a selection of the organized and renamed images to your designer! (For tips on choosing the album images to send to your designer, click here.) Your designer will be able to sort the images you send by filename to see the proper order of events. And your client will be referencing file names that your designer has when making their revisions. The great news is -- all of this adds up to a super-smooth workflow!
If you found this post helpful and would like to receive tips like this straight to your inbox, click here to sign up!
And exciting news! If you're a photographer who wants to start offering albums without investing hours of guesswork and trial and error -- we have a solution for you! Check out the Album Start-Up Kit and start maximizing your profit today!

-----------
Blog post written by: Melissa Jill
Blog post written by: Melissa Jill