
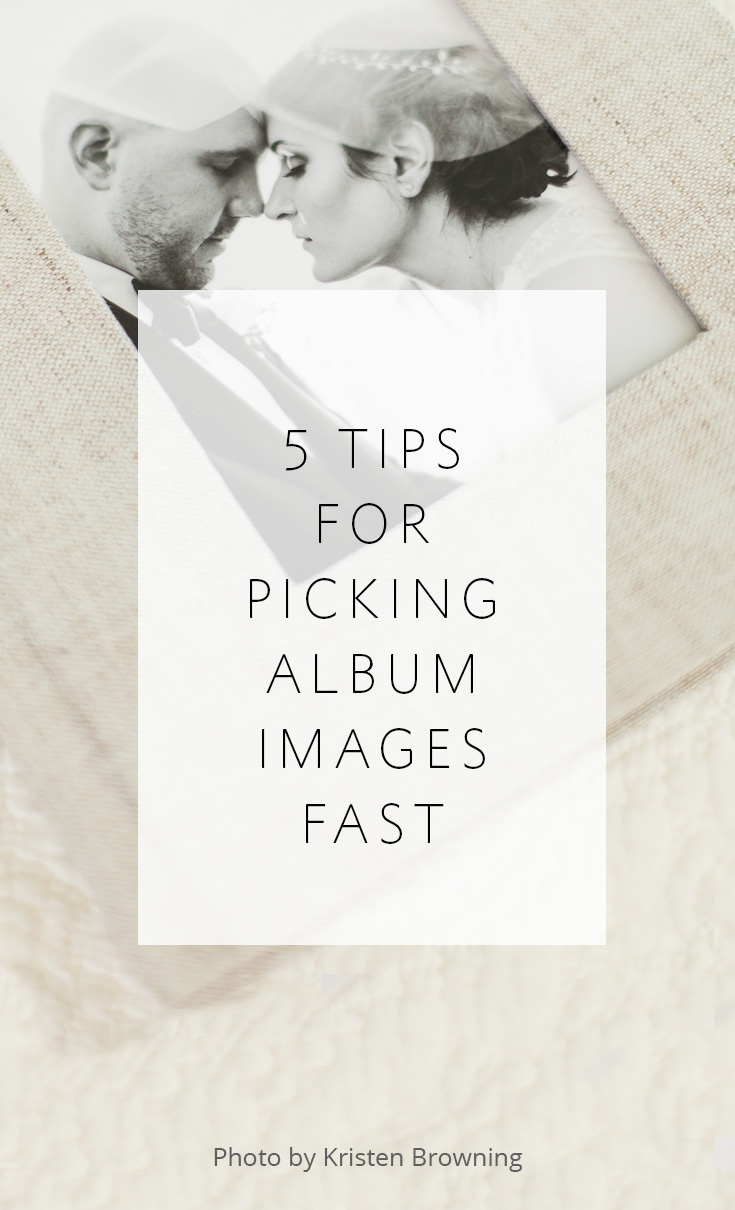
5 tips for picking album images fast
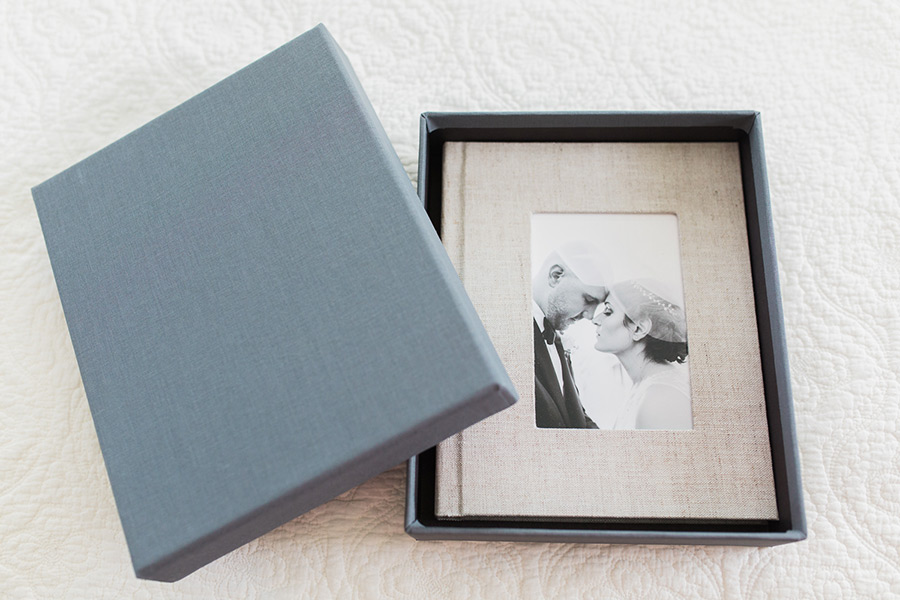
above image by Kristen Browning Photograpy
The process of image selection for an album design can be more of a hassle than it truly needs to be. Many photographers get hung up on this step in their workflow, but there is hope! When done right, picking images for the album design can be fast and easy.
Here are our 5 tips for picking album images fast:
1 -- Pick the images yourself; don't wait for your clients.
I talk about the benefits of pre-designing in depth in this post (read it if you are still asking your clients to pick their images -- it will rock your world!!) but one of the main benefits is that your workflow will not be hung up by waiting on your clients. You can get an album designed within weeks of the wedding. PLUS this takes an unnecessary burden off of your clients' shoulders and allows you to create an initial album design that uses your best images and serves as a starting point for their changes.
2 -- Cull one time.
Don't make image selection for your album designs a separate step in your workflow. When you cull through images from a wedding, do it ONLY ONCE and make all of your choices in that first pass-through. This tip is so key that I'm going to share two different examples of how various photographers do this so hopefully one of them will resonate and make sense for you:
Example A: Melissa Jill (that's me!)
I cull my images once and rate them strategically according to intended use. I cull in Lightroom and rate my images as follows:
3 stars -- my favorite images I will pull from for the blog post, publication submission and my website portfolio (80-100 images)
2 stars -- additional images for the album design (100-150 images) These are typically family portraits, more getting ready images, and dancing images, and are used along-side the favorites to create the album design.
1 star -- additional images for the full gallery (300-500 images)
So on PASS, my online gallery solution, the client will see 500-800 images total (all of the images with a rating of 1, 2 or 3 stars). Their album will be designed from approximately 200 image options (some of the images with 2 or 3 stars -- I send them all to Align and allow my designer to choose which 2 star images to include). And my blog post will include about 30-50 images (some of the images with 3 stars).
Example B: Abby Grace
Abby Grace is an Align client and she also culls only once, but she eliminates the step of rating images for the album design all-together. She selects favorites in her initial cull and sends only those images to Align for the initial design. Then she has her Align designer include one blank spread in the album design that says "family portraits" and 1-2 blank spreads that say "dancing" at the appropriate places in the design. When she sends the initial draft to the client for revisions, she asks them to select a set number of images for each of those spreads. That allows her to skip selection of family portrait and dancing images when picking her favorites and saves time on revisions for those spreads. By giving her clients a very specific number and type of images to select, it ensures that they won't be paralyzed and overwhelmed by the task.
Regardless of which route you choose, make sure you are rating your images for every type of use rather than culling once for the client, once for the album design and once for the blog post or Facebook.
3 -- Be selective.
When choosing images for your albums, be very critical and pick only your best. The average album designed by Align has 18 spreads and an average of only 90-100 images. That's not a lot. When culling, make sure you don't pick images that are too similar. Pick the best one from each set of similar images and move on.
4 -- Choose for cohesion.
Even though you don't want to select images that are SUPER-similar, you do want to pick enough images from the same portrait location or event during the course of the day to allow for your designer to make cohesive spreads. Make sure you select enough bride and groom portraits for 3-4 spreads (at least 20 images minimum), and make sure every image has at least one buddy that works with it. Include both horizontal and vertical images to help aid in the ease of the design.
5 -- Include images that fill out the story.
It's obvious that you need to select images full of emotion and action that lead the viewer through the story of the day. But don't forget to include scene-setting images that introduce each location (shots of the inside & outside of the venue), as well as detail photos from each part of the day to help fill out the story and add dimension and interest to the design.
Hopefully one or more of these tips will help streamline your workflow and make image selection for your albums a breeze!
Since we're on the topic of workflow speed, I wanted to throw a bonus your way and share with you what I have found to be the #1 time-saving tool to speed up my workflow. The best thing is, this tool is free and quick to implement. It's definitely a game-changer! Click here to download this time-saving hack for free today!
Since we're on the topic of workflow speed, I wanted to throw a bonus your way and share with you what I have found to be the #1 time-saving tool to speed up my workflow. The best thing is, this tool is free and quick to implement. It's definitely a game-changer! Click here to download this time-saving hack for free today!

-----------
Blog post written by: Melissa Jill
Blog post written by: Melissa Jill