Elizabeth Gelineau's Six Tips for Styling Albums
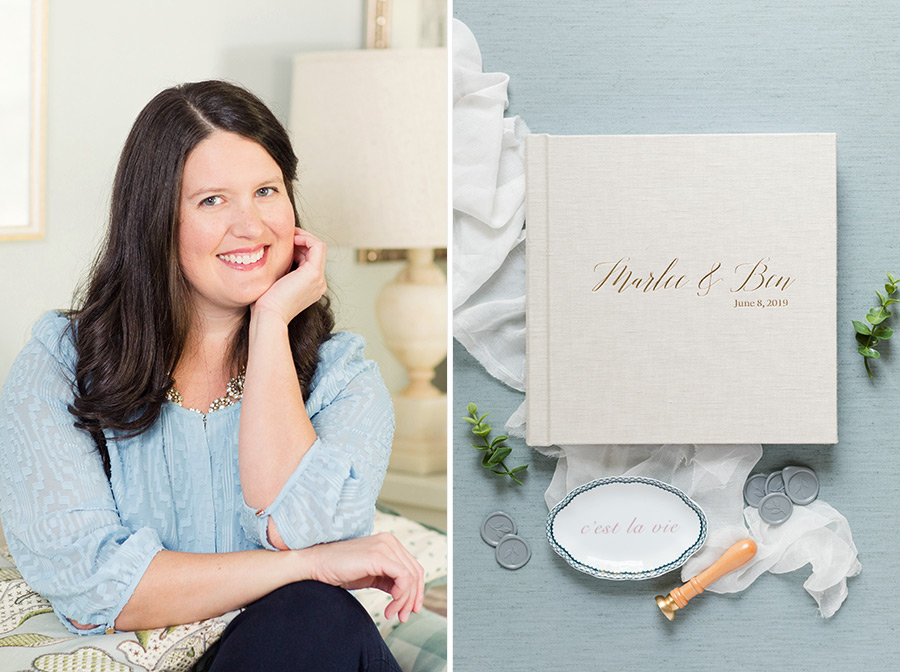
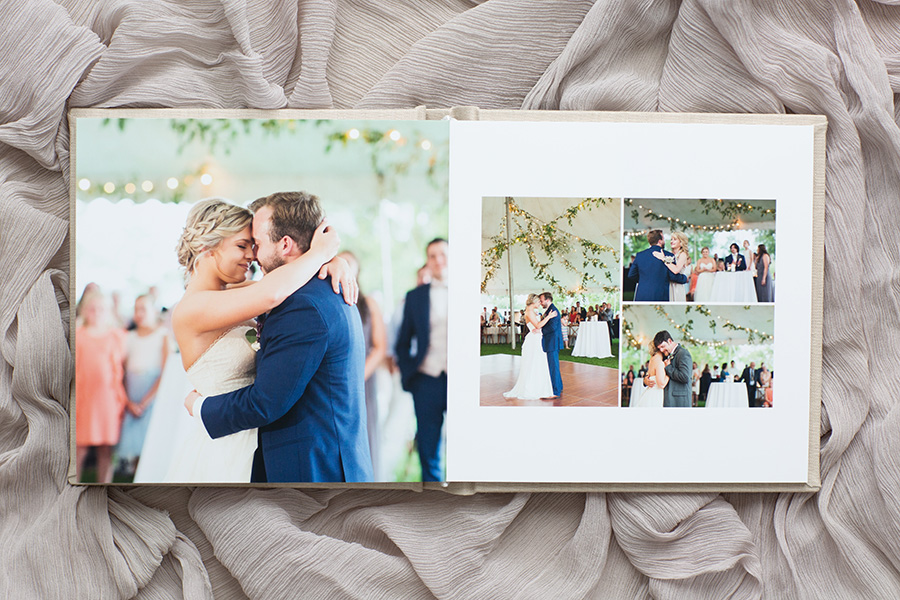
We have seen SO MANY beautifully styled images of albums, but some of the best have to be from Mobile, Alabama-based Elizabeth Gelineau. Her styled flatlay images have us swooning and we are so excited to share her tips for creating these types of images in today's post!
Two weeks ago we shared the first part of this series where Elizabeth talked about why she takes time to photograph all of her clients' wedding albums and the various ways in which she uses the images to educate her clients and market her brand. You can get caught up on that post here!
And here is Elizabeth to share six tips for styling beautiful images of albums:
I have always loved styling detail shots on wedding days, and I've taken that same approach with the album images I create. My basic set up for photographing albums involves a window with indirect light (a north-facing window in my office is my favorite) with a white reflector placed opposite the light source. This gives nice even lighting across my flatlay scene. If I need to photograph an album at night, or on a stormy day, I will set up my Profoto B1 with an extra large parabolic umbrella fitted with a double diffusion material to create my own soft light.
I love styling flat lays so I use this time to get creative. Sometimes I have plenty of free time to shoot an album during the week when it arrives. Other times, an album arrives during a hectic season. When that happens, I take a more minimalist styling approach. If I receive multiple albums at once, I take that as an opportunity to style a scene that includes more than one album! Here are my go-to tips for styling album flatlays:
1 - Select a background that will complement the album cover material and the color theme of the wedding.
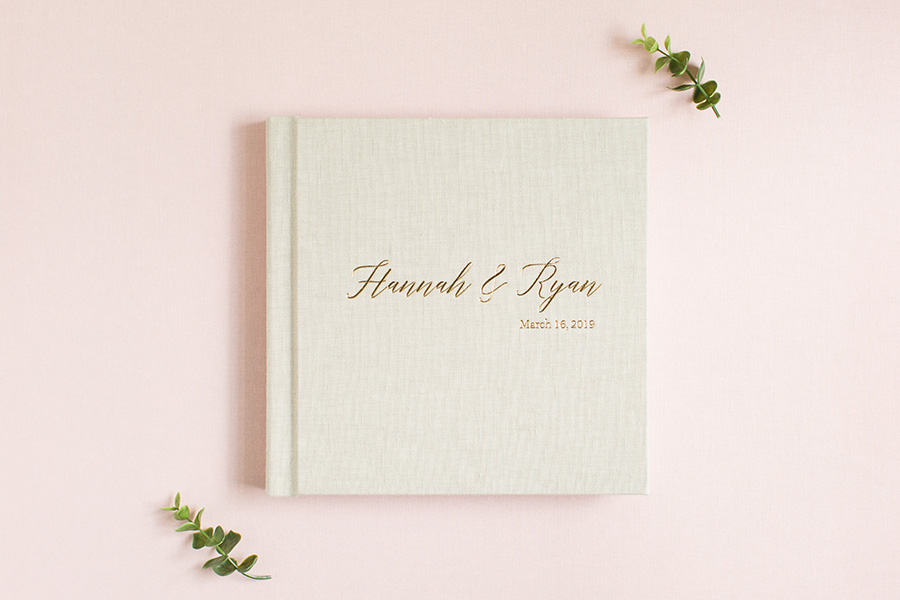
The first element I choose when setting up to photograph an album is a background board. I have several linen boards I've made myself, as well as a couple from Heirloom Bindery. I also love the faux marble board by Replica Surfaces and the suede styling mats from KISS Books. The background provides a neutral background for the album flatlay. I often choose a color that will compliment both the album's cover material and the photographs that are inside the album. For a super clean background and a light and airy look you can even use a piece of white foam board from the craft store.
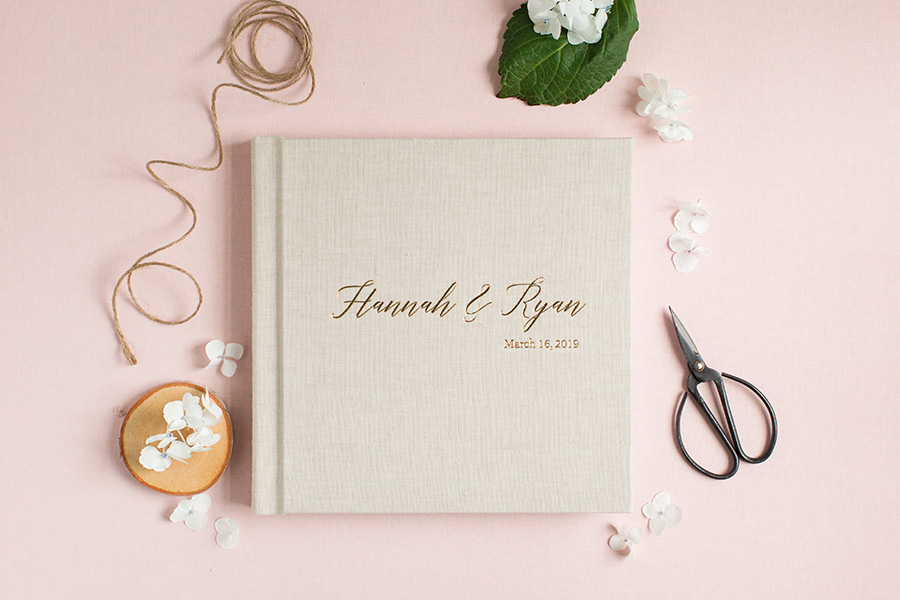
2 - Select a ribbon that compliments the color of the wedding and cover material.
I almost always use ribbons in my album flatlay images. I love the texture they provide! I often use the same ribbon on an album flatlay that was used on the wedding day for bridal detail photos. My styling kit has a variety of neutral tones, as well as various shades of pinks, blues, and greens. My favorite sources for styling ribbons are Honey Silks Co., Illume Silks, and Silk & Willow. I also love using styling cloths, or scraps of tulle purchased from a fabric store. A fourth of a yard will give you plenty of material to work with for flatlay styling.
I almost always use ribbons in my album flatlay images. I love the texture they provide! I often use the same ribbon on an album flatlay that was used on the wedding day for bridal detail photos. My styling kit has a variety of neutral tones, as well as various shades of pinks, blues, and greens. My favorite sources for styling ribbons are Honey Silks Co., Illume Silks, and Silk & Willow. I also love using styling cloths, or scraps of tulle purchased from a fabric store. A fourth of a yard will give you plenty of material to work with for flatlay styling.
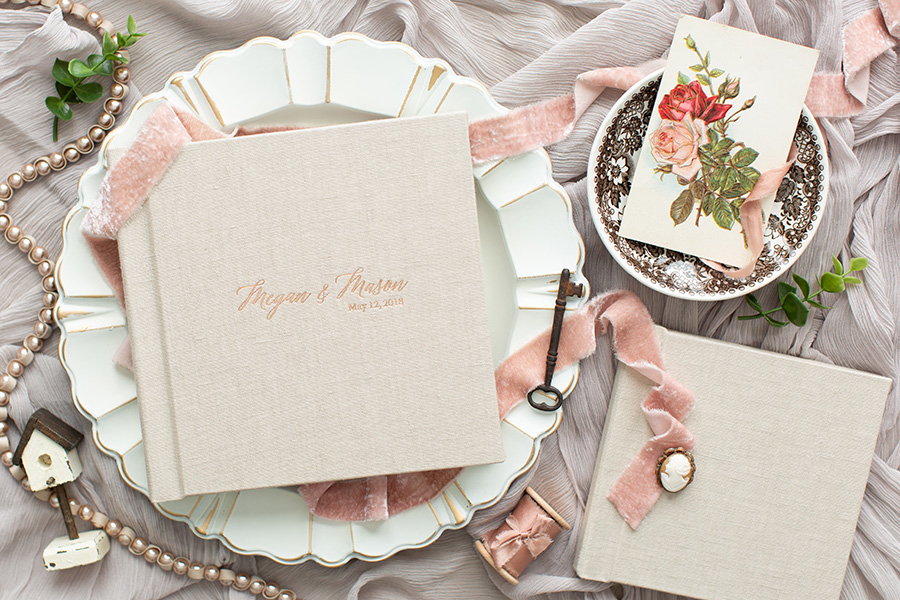
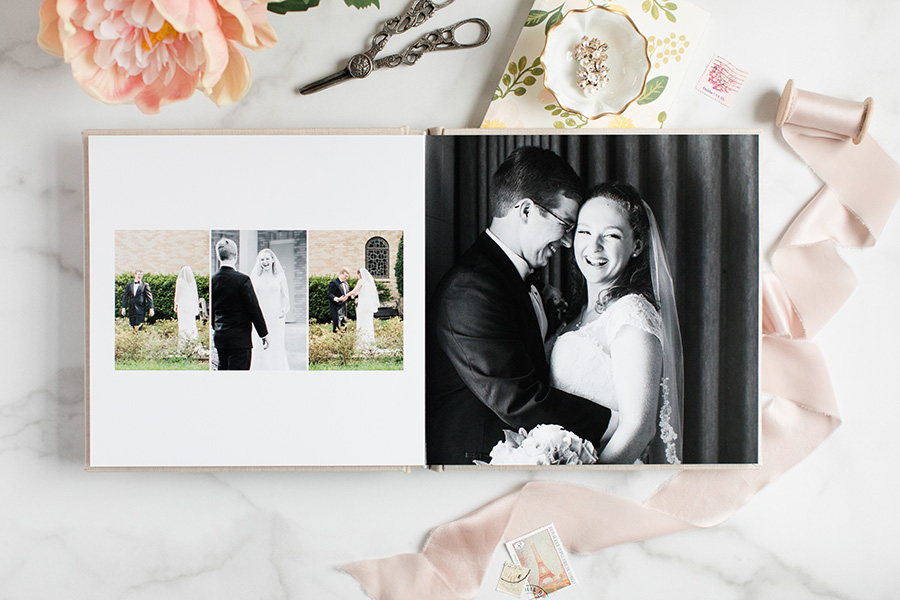
3 - Select props that won't pull attention away from the album.
Build a styling kit for flatlay photography and pull from that when it's time to photograph your album. I love having wax seals on hand (I have these in my personal stationery kit), as well as an assortment of small ring dishes, trays, and vintage stamps. I also have a small collection of scissors that I love to use! If you're starting to build your styling kit, check out local antique stores and stores like Home Goods, TJ Maxx and Marshalls. The clearance aisles at these stores are my favorite spots for prop hunting! I frequently pull in my own personal items as well, such as jewelry, stationery, or journals.
If I have extra time, I'll often pop outside to forage for a few stems of greenery, or blooms from my garden. If I have multiple albums to photograph at one time, I may stop by my local florist to buy a stem of eucalyptus, or tea roses. For less than ten dollars I can have floral elements that can elevate the styled shot. When working with florals, I am extremely careful to not let the flowers and greenery touch the album. I'm especially careful to not select blooms with a lot of visible pollen, which could easily stain the album.
If I was sent a copy of the wedding invitation, or save the date card before the wedding I try to incorporate that into the album flatlay. I've also used koozies or a program from the wedding day when I had them on hand.
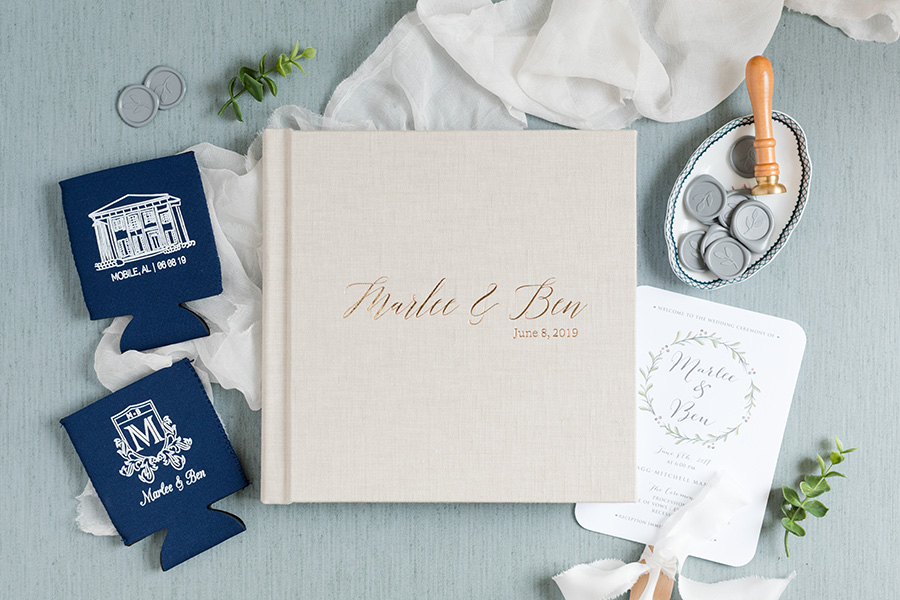
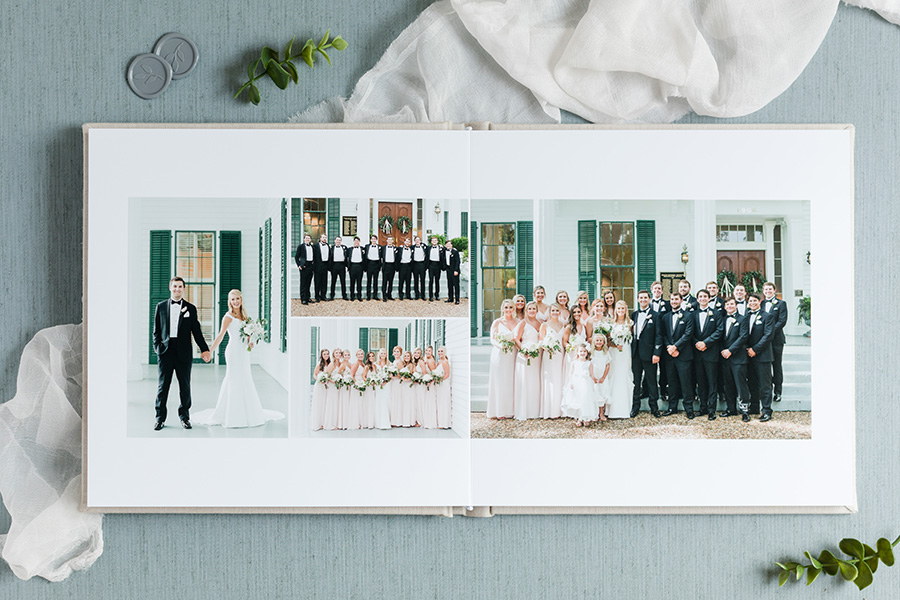
4 - Use styling blocks to keep the album level.
Styling blocks are the key to keeping the album level. Without them the book tends to tilt to one side or the other when not opened to the middle spread. I also use styling blocks to elevate some of my props, giving a layered look to the flatlay.
Styling blocks are the key to keeping the album level. Without them the book tends to tilt to one side or the other when not opened to the middle spread. I also use styling blocks to elevate some of my props, giving a layered look to the flatlay.
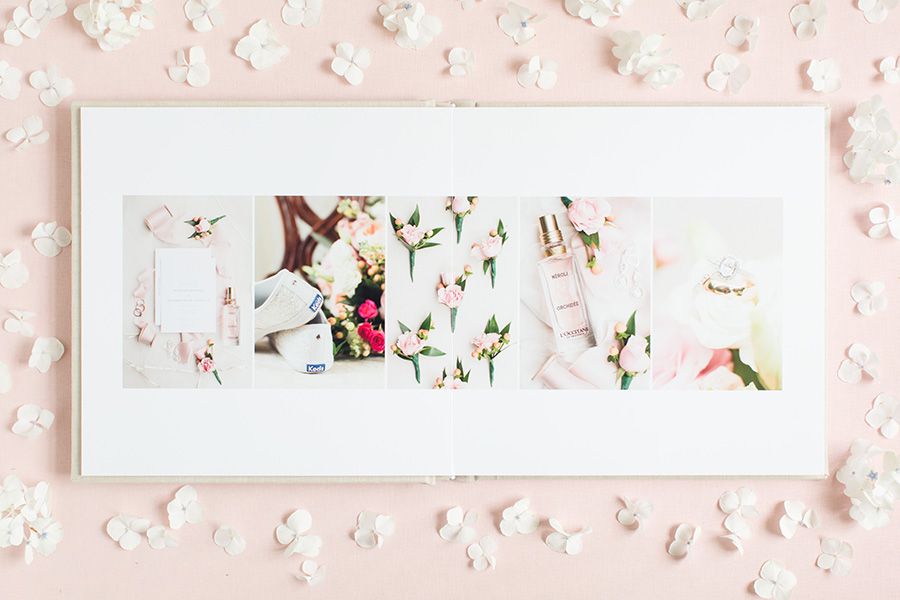
5 - Use a tripod so that your hands are free to adjust props.
If you're new to styling flatlays, you may find it helpful to use a tripod and live view on your camera to see the composition and placement of props before actually taking the photo. My favorite tripod is a Manfrotto model and I use a cross bar from Tether Tools to position my camera directly over the album (with a five pound counterweight placed opposite the camera to make sure the tripod doesn't tip over from the camera weight).
If I'm pressed for time, I keep the styling super simple and shoot free-handed, often using live view. I make sure to enable the grid in live view for shooting freehanded so I can use the lines to ensure I'm holding the camera as level as possible and keeping the framing the same for each spread I'm photographing. For flatlays, I'm usually shooting at an aperture between f/3.2 and f/4.
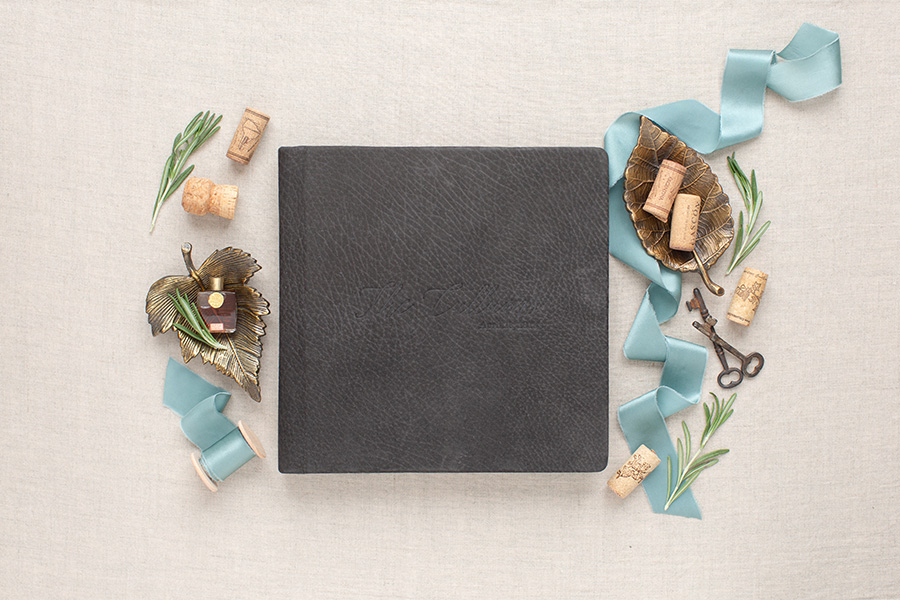
6 - When in doubt, keep it simple.
Sometimes I have a whole flatlay styled and then realize I have too much going on in the scene. Don't be afraid to keep things simple. My very first album images incorporated more props, but I've gravitated to a simpler style over time. I also frequently photograph the album on a plain white board with no props so that I can pair them together for using on my album website in a way that will look cohesive.
Sometimes I have a whole flatlay styled and then realize I have too much going on in the scene. Don't be afraid to keep things simple. My very first album images incorporated more props, but I've gravitated to a simpler style over time. I also frequently photograph the album on a plain white board with no props so that I can pair them together for using on my album website in a way that will look cohesive.
Wow! I'm feeling SO inspired! Thank you so much for sharing your best tips for creating beautiful flatlay images of albums, Elizabeth!
To see more of Elizabeth's beautiful work, make sure to follow her on Instagram here!
-----------
Design by: Andrea (View More) // Design style: Classic (View More) // Blog post written by: Melissa Jill
Design by: Andrea (View More) // Design style: Classic (View More) // Blog post written by: Melissa Jill

