Florida Spring Wedding Album Design for Ailyn La Torre Photography
Today's featured album design is one we created for talented Florida wedding photographer Ailyn La Torre. Over the past 4 years we've designed nearly 50 album designs for Ailyn and each one has been such a treat to create! Her clean, bright, modern and classic photography style lends itself so well to telling the story of a wedding day on the pages of an album.
Ailyn used our Hands-off Service on this design, which really streamlined the revision process, allowing us to communicate directly with her clients, saving her from being the "middleman".
From the bride's stunning Isabel O'Neil gown to the picturesque outdoor palm-lined venue, this wedding day was so beautiful! It was our honor to design an heirloom album for the couple to cherish for generations to come!
Here are few of our favorite spreads from this stunning design:


To see the design in full, click through the slideshow:
Thank you, Ailyn, for trusting us with your beautiful images!
Thank you, Ailyn, for trusting us with your beautiful images!
-----------
Design by: Shannon (View More) // Design style: Classic (View More) // Blog post written by: Melissa Jill
Design by: Shannon (View More) // Design style: Classic (View More) // Blog post written by: Melissa Jill
How to pick an album company
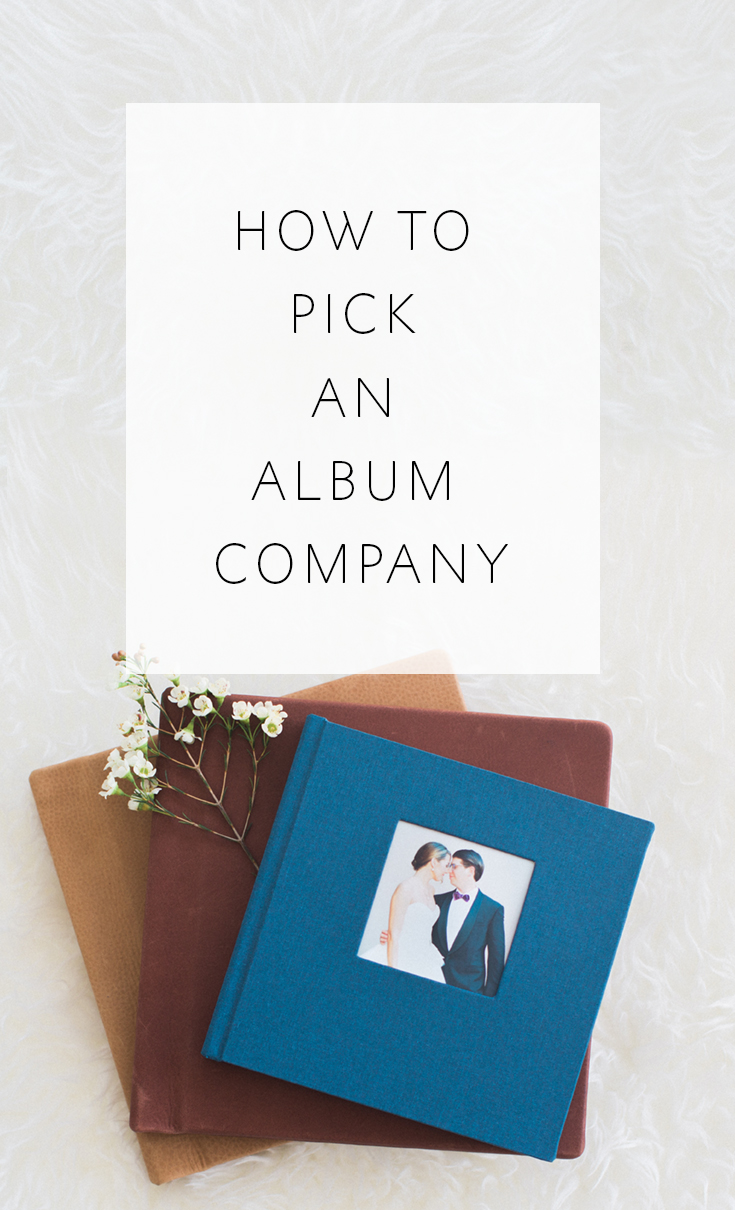
We get questions all the time from photographers (especially those who are just starting to offer albums to their clients) about which album companies we recommend. Choosing an album company for printing and binding can be a daunting task. After all, there are more than 100 out there to choose from -- all with numerous album styles and options. It's completely overwhelming -- where does one even START!?
There are two suggestions I have for finding a good album company to partner with:
1 -- Ask other photographers who are further along in their journey who they would recommend. Chances are, they've got some experience with a number of companies and can tell you some pros and cons about each that might end up saving you valuable time and money.
2 -- Do some research at trade shows. Trade shows like WPPI are a great place to touch, feel, and compare various products like albums. I believe I counted over 20 album companies represented on the WPPI trade show floor. Because albums are so tactile, it's helpful to be able to see and touch them in order to get a sense for their quality and whether or not they will appeal to you.
When you are talking with other photographers or with representatives from various album companies at a trade show, there are two things I would be on the look-out for when it comes to album companies:

By and far, these are the top two things I look for in an album company. I want to offer my clients a good quality product that will stand the test of time, and I want a hassle-free experience when I place my album orders. Oftentimes you can assess the quality of an album by handling it at a trade show, but the only way I've found to get a sense of what kind of customer service I can expect from a company before using them is to talk with their current or past clients. That's where talking with other photographers who have tried out various companies comes into play. From my experience, photographers are usually more than happy to either rave about their favorite company, or out a company for sub-par service.
Since I fall into the category of the aforementioned photographers, I'm happy to share with you the two companies that I have used for my albums:
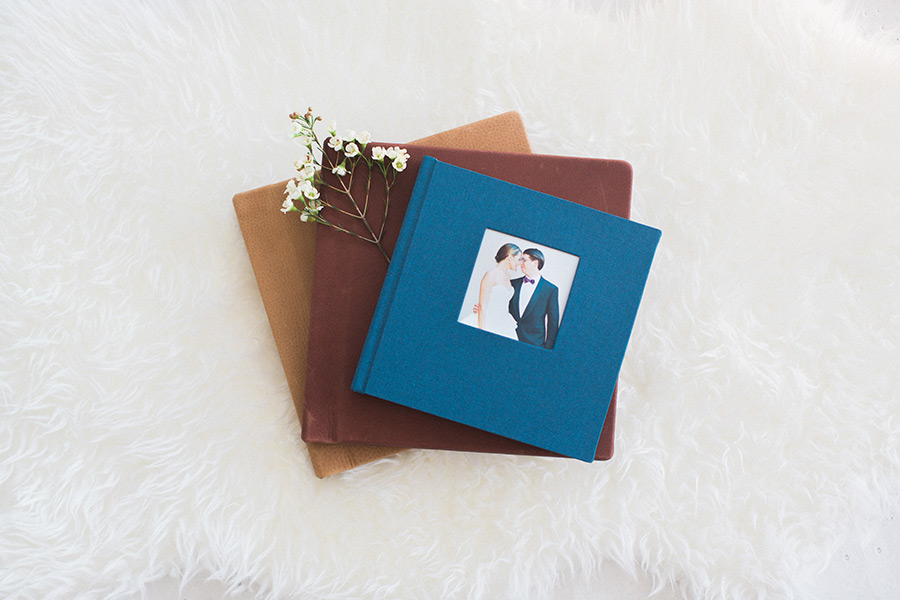
Align Legacy Books (Pictured Above)
Queensberry
Queensberry has amazing quality and customer service. But it comes with a price. And I'm a little biased about our books we offer here at Align, but I think it's telling that I also offer them to my high end photography clients and they LOVE them! They are more moderately priced than Queensberry, so more accessible to more of my clients. I love being able to offer two very different types of albums. Click here to see a full blog post featuring my Queensberry and Align Legacy Book Sample albums! You can even click through the full designs at that link!
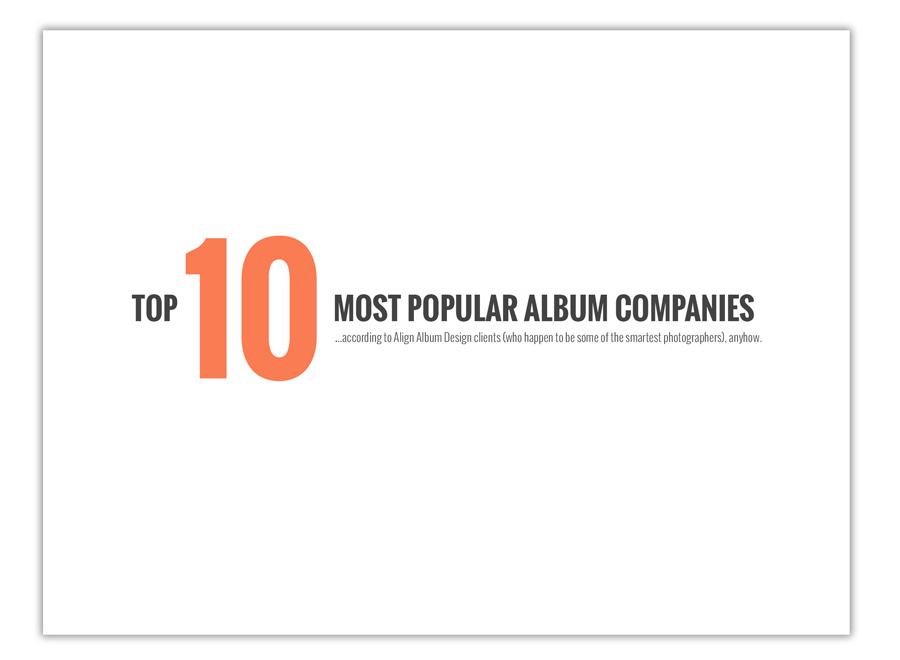
I think it's also helpful to see which album companies are most popular among Align clients. We've created a Resource List for the Top 10 Most Popular Album Companies used by Align clients, along with testimonials from photographers who use each of them. Also included on the list is a general idea of what each company charges for a standard 10x10 album. You can download it for FREE today by clicking here and signing up for an account with Align -- no order necessary! Or if you already have an existing Align account and want a copy of this resource guide, you're welcome to email us for a copy.
I hope you've found this helpful! If you are reading this post and have a favorite company, please share why you love them in the comments below!
-----------
Blog post written by: Melissa Jill
Blog post written by: Melissa Jill
Delaware Beach Wedding by Christopher Ginn Studios
Oh my goodness! Wait until you see the portraits on the Delaware beach in today's featured album design!!
Delaware wedding photographer Christopher Ginn captured the love, fun and beauty of this wedding day in such a stunning way! And you know we are suckers for some simple backgrounds -- which a beach wedding always affords! These serene images produce such clean spreads in which the subjects pop off the page. They are perfect in album designs!
Christopher used our Hands-off Service which really streamlined the proofing and revision process, allowing us to communicate directly with his clients to make sure the design turned out perfect for them.
We couldn't love this design more! Here are a few of our favorite spreads:


To see the design in full, click through the slideshow:
Thank you, Christopher, for trusting us with your clients and images!
Thank you, Christopher, for trusting us with your clients and images!
-----------
Design by: Rachel (View More) // Design style: Classic (View More) // Blog post written by: Melissa Jill
Design by: Rachel (View More) // Design style: Classic (View More) // Blog post written by: Melissa Jill
Classy Alabama Wedding Album Design for Elizabeth Gelineau
We've worked with Mobile, Alabama wedding photographer Elizabeth Gelineau for over 8 years on close to 80 album design so far. Her photography is consistently beautiful and she is such a joy to work with!
Elizabeth has worked with the same preferred designer -- Denise -- for many years and that has allowed Denise to really master Elizabeth's preferred design style which includes narrow spacing, some white space, and ensuring images are not too small on the page. She also likes when we are able to dedicate one spread to a full bleed portrait of the bride and groom like this first one from today's featured album below!
Elizabeth used our Hands-off Service which allowed us to communicate directly with her client throughout the revision process, freeing Elizabeth up from being the "middle-man". This album design turned out SO beautifully! Here are a few of our favorite spreads:


To see the design in full, click through the slideshow:
Thank you, Elizabeth, for trusting us with your clients and your gorgeous images!
Thank you, Elizabeth, for trusting us with your clients and your gorgeous images!
-----------
Design by: Denise (View More) // Design style: Classic (View More) // Blog post written by: Melissa Jill
Design by: Denise (View More) // Design style: Classic (View More) // Blog post written by: Melissa Jill
One thing you must do to serve the high-end client well
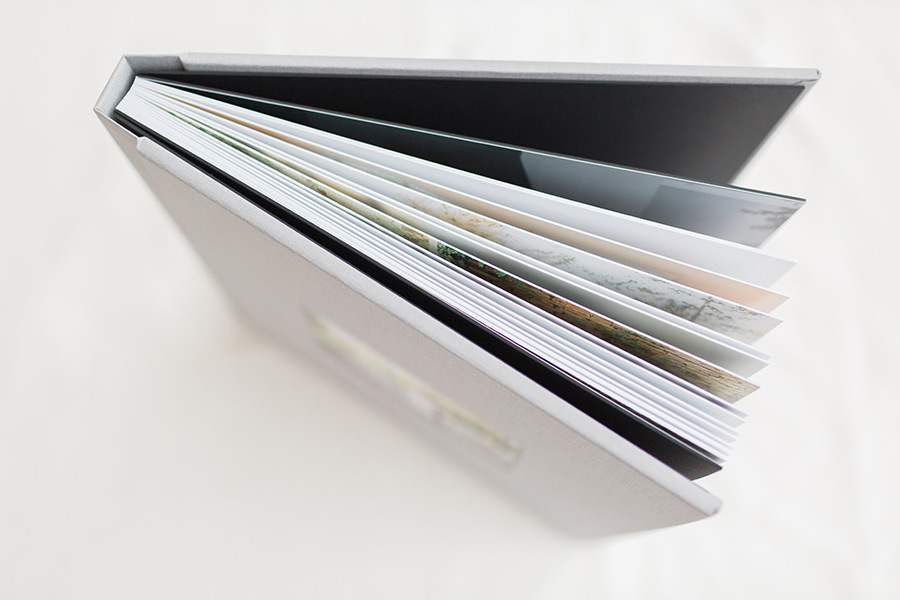
photo by Alicia Lacey Photography
Hey guys! Melissa Jill here! I'm the owner of Align Album Design and Huntsville & Phoenix-based wedding photographer.
Question for you: Are you seeking to break into the high-end market? To serve a clientele who values the art of photography? To make more money for your time?
One of the ways to reach these goals is by DOING ALBUMS WELL.
I've found in my experience as a photographer in the Phoenix market that there is a shift in the type of client around the $3-4K budget range. Back in the day, my studio had 5 photographers total and we served clients with a photography budget ranging anywhere from $2,000 - $14,000. When a client came to us with a budget of less than $3K, one of the first questions out of their mouth was, "Do your packages come with the high res images?" Not only that, but this was typically the only product they were interested in. They figured if they had the images, they could create other products themselves.
But clients who have allocated over $4K for their wedding photography are a different type of client altogether. They are not nearly as interested in the digital images. Oftentimes when I mentioned that they can include them in their package, they looked at me like, "What would I do with those?" And it seems like the more money people have, the less interested they were in them. Instead, they want something custom, something hand-crafted and one-of-a-kind, something they couldn't create themselves. Over the starting budget of $4K, clients in my market wanted an album. It's their priority and they take it for granted that a custom album is the final end product that they will have to tell the story of their day once their experience with their photographer is brought to completion.

The budget at which this shift occurs in your market may be different than mine, but I guarantee it exists. If we are interested in meeting our clients' needs AND in targeting a specific market, it's important that we as professional photographers are aware of where this shift occurs in our own market and make adjustments based on it.
One of the adjustments I made when I raised my starting prices above $3K, was I replaced the high res images that I once included in all of my packages (because that's what my clients were wanting) with an album in every package. The album in my lowest package was a low-entry-point album that didn't cost me too much so I was able to keep it reasonably priced for my clients. In reformatting my packages, I still offered the high res images, but only included them in my middle and top packages. My packages were always customizable, so theoretically clients could still take the album out of the package and add the high res images. But I wanted to make sure I was presenting my packages in a way that would meet the majority of my clients' needs AND would show them what I think is most important. (As I mentioned in my last post -- clients will be more likely to prioritize the album for themselves if you are passionate about them and prioritize them on your website and in your initial client meetings.)
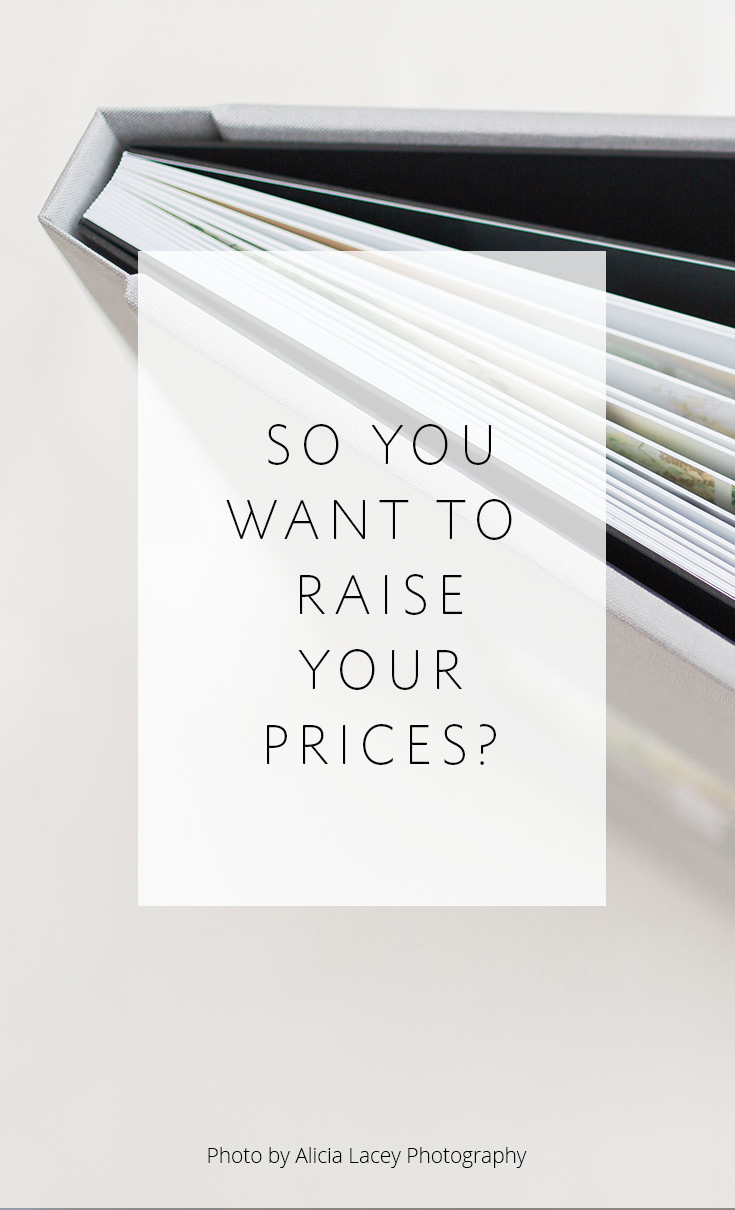
If one of your goals is to raise your prices, then doing albums well is going to be an integral part of making that transition -- because the high end bride wants an album. They want something beautiful and custom and one-of-a-kind. And they want it delivered with exceptional service. They want quality AND service. That's the ticket to their hearts and their referrals.
It sounds so simple, but while it might be "simple," it's far from EASY. There are SO MANY pitfalls and issues that can arise. But since offering quality albums with exceptional service is a key to reaching the high end bride, it's definitely worth the effort to overcome these obstacles.
In the coming weeks I will continue to share some tips for doing albums well and setting up your workflow for profitability and efficiency. Make sure to sign up here to receive emails about all of my album sales and workflow tips straight to your inbox! Stay tuned and join in the conversation in the comments below! I'd love to hear what has worked for you!
And exciting news! If you're a photographer who wants to start offering albums without investing hours of guesswork and trial and error -- we have a solution for you! Check out the Album Start-Up Kit and start maximizing your profit today!

-----------
Blog post written by: Melissa Jill
Blog post written by: Melissa Jill


