
Tips & Tricks For Photographing Your Albums
Hey guys! Melissa Jill here, owner of Align. We've talked in the past about the importance of sharing your passion for albums -- EVERYWHERE. You can't sell albums effectively and get them into the hands of all of your clients unless you are sharing your heart for this product and putting examples in front of them again and again. One of the most effective ways you can do this is through putting beautiful images of albums consistently out there on every channel that your clients might browse or interact with: your website, Instagram, Instagram Stories (Instagram Story highlights is one of our favorite places to showcase albums because you can flip through them in a video while you talk about them and really give your clients a good look at an album in action!!), etc.
So taking a moment to photograph each and every beautiful album that comes through your studio is SO valuable. Then you will have a slew of stunning examples to share! But photographing albums in a way that shows off their quality and value can be tricky. Today we are going to share some tips for photographing albums effectively!
There are a few different things to consider when approaching the task of photographing albums. First, as a photographer myself, I know your time is limited and valuable. Photographing albums, while worthwhile and beneficial, is not something that should take up a ton of your time. In an effort to demystify the process of photographing albums, I am excited to share a short video that Abby Grace was kind enough to create for us on her album photographing strategy. It is both simple and efficient.
We LOVE how Abby has systematized the process of photographing each of her client albums!
By way of review -- here is a list of Abby's 5 Steps to an Efficient Album Photo Shoot:
1 -- Set-up
Set up your tripod with camera pointed straight down at a 90 degree angle. This tripod works great!
2 -- Lighting
Make sure you are in an area with plenty of natural light! Create a make-shift reflector. Use 3 white foam poster boards taped together to make a 3/4 reflector. This helps to lessen those pesky shadows.
3 -- Background
Place a cheap, flimsy white poster board directly underneath the camera and lay the album on top of it for a clean backdrop.
4 -- Frame
Put your camera on "live preview" mode to make sure everything is lined up evenly and completely flat. This will minimize the post-production cropping/editing.
5 -- Shoot
Once everything is nailed into focus, turn the camera to manual focus to take the first photo. Without moving the camera at all, turn the page and take the next photo. Move through the entire album this way. Since everything is composed exactly the same way, you can batch the images and apply edits to the entire batch. Everything is super automated and easy with this system, which makes it possible for you to shoot 3-4 albums within 20 minutes!
You can see just how clean and lovely the outcome of this process is by visiting some of Abby's finished work that we've featured here on our blog in the past!
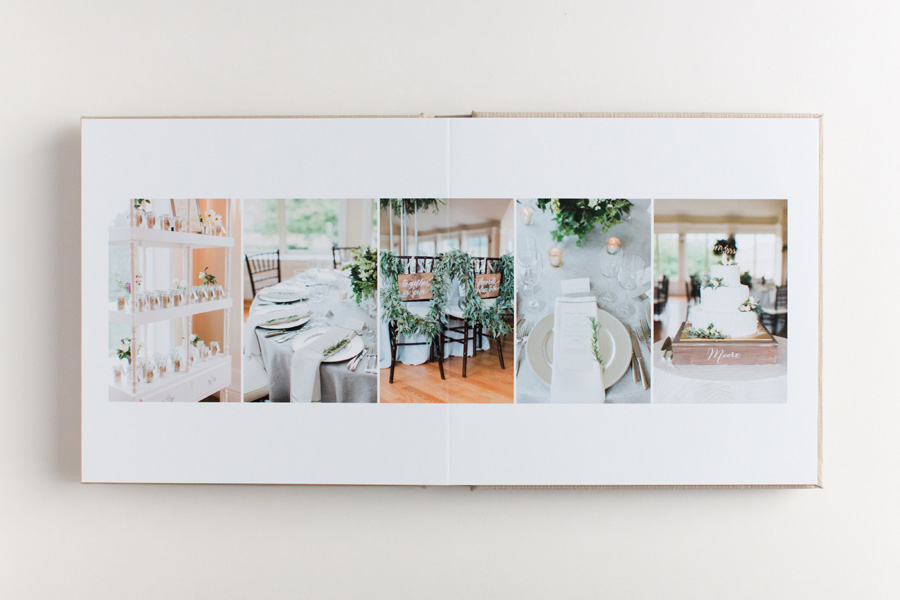
above image by Abby Grace Photography

above image by Abby Grace Photography
While the above method is super-efficient and simple, there are also other ways to creatively style your albums that can really show off their unique features and personalities. Here are just a few that we love:
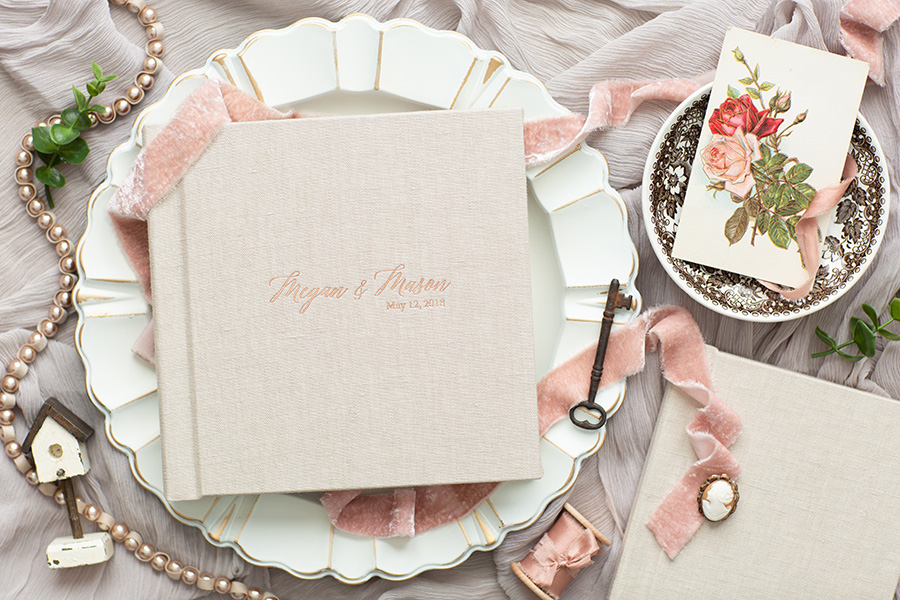
1 -- Use a textured background to add depth and character to the image. An album placed upon something that has its own shadows and light can really enhance the beauty and simplicity of the album. Some great materials to utilize are wood, tulle or textured fabric.
While the above method is super-efficient and simple, there are also other ways to creatively style your albums that can really show off their unique features and personalities. Here are just a few that we love:
1 -- Use a textured background to add depth and character to the image. An album placed upon something that has its own shadows and light can really enhance the beauty and simplicity of the album. Some great materials to utilize are wood, tulle or textured fabric.

above image by Melissa Jill Photography
2 -- Try posing the album! Photograph the details at different angles. Take some shots of the album standing up, where the pages are showcased. Take some close ups of the cover, and the fine details of various pages. Get creative with perspectives! Sometimes just showing portions of the spreads along with a textured background creates a lot of interest.
2 -- Try posing the album! Photograph the details at different angles. Take some shots of the album standing up, where the pages are showcased. Take some close ups of the cover, and the fine details of various pages. Get creative with perspectives! Sometimes just showing portions of the spreads along with a textured background creates a lot of interest.
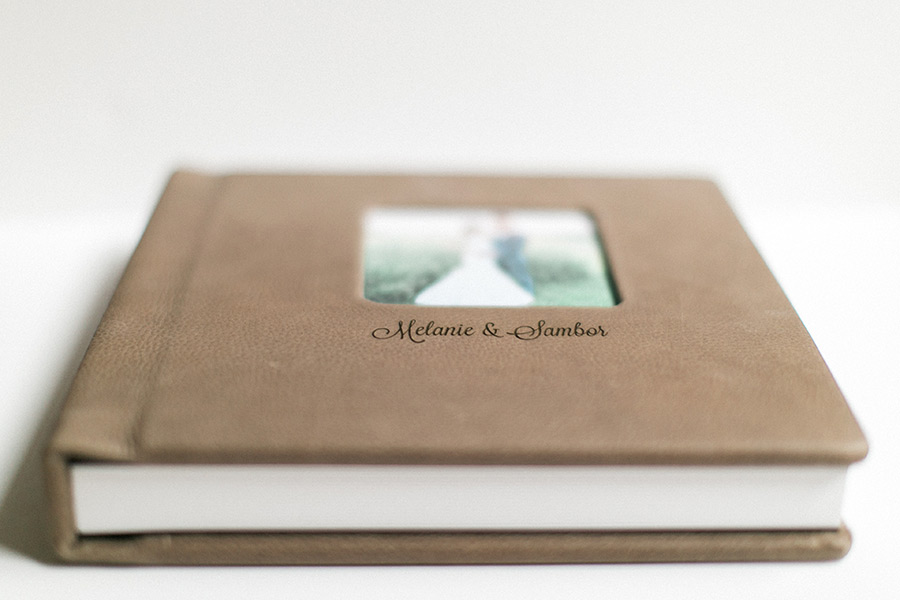
above image by Brittany Thomas Photography
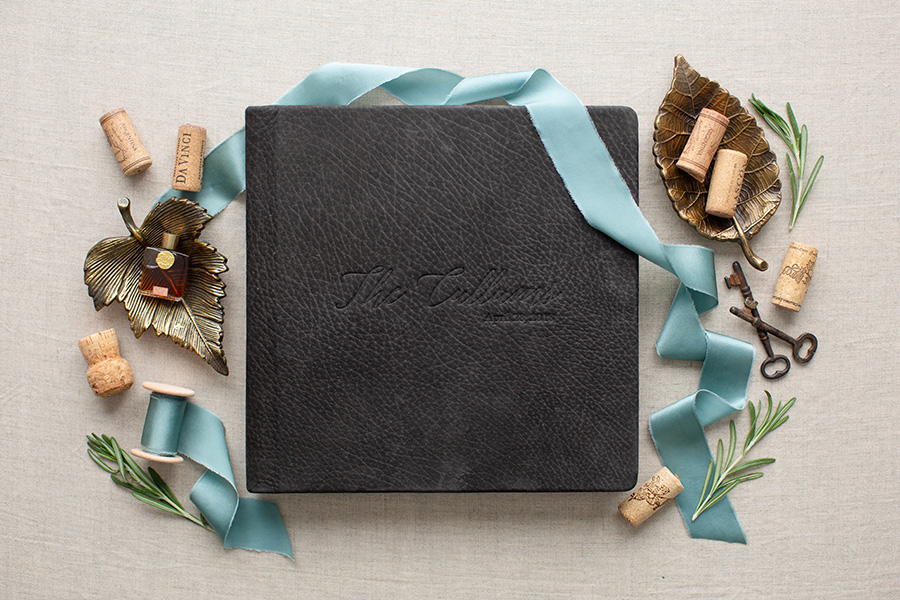
3 -- Add props to make it more interesting. Try setting up the album within the box it came in, along with some tissue paper and ribbon. Some other ideas would be to use cover fabric swatches, flowers, leaves, pine cones, etc to style the image. Using an actual detail from the wedding is also a way to help tell the story held within its pages.
3 -- Add props to make it more interesting. Try setting up the album within the box it came in, along with some tissue paper and ribbon. Some other ideas would be to use cover fabric swatches, flowers, leaves, pine cones, etc to style the image. Using an actual detail from the wedding is also a way to help tell the story held within its pages.
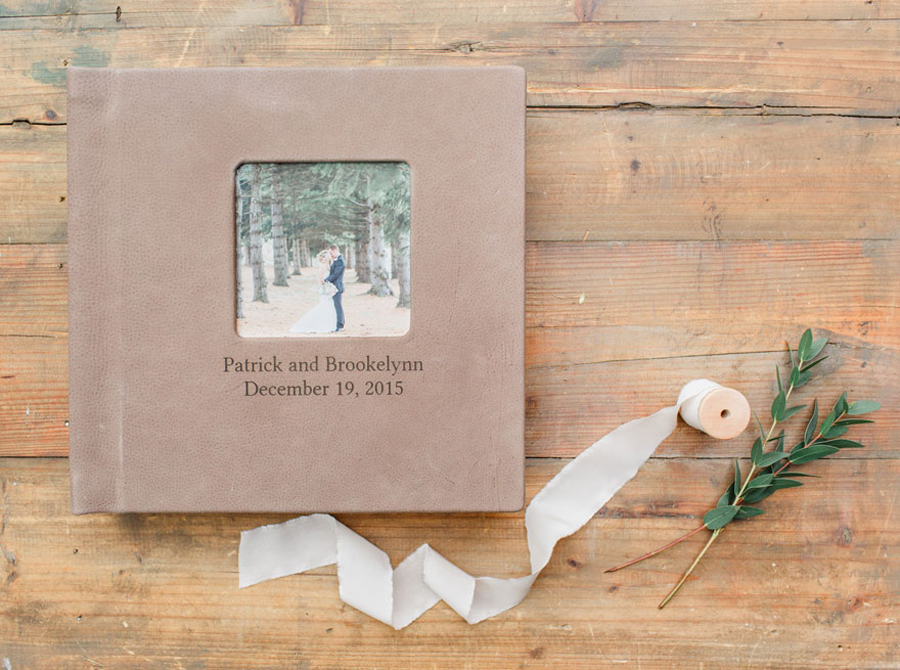
above image by Caroline Logan Photography
4 -- Photograph the album fulfilling its purpose. Which means, take pictures of someone sitting down with the album and pouring over the pages. You can add texture with a blanket or some kind of fabric within the shot. This not only adds depth and dimension to the image but also personalizes it and invites the viewer to imagine themselves cozied up with their very own album, soaking in the memories they will treasure for life!
4 -- Photograph the album fulfilling its purpose. Which means, take pictures of someone sitting down with the album and pouring over the pages. You can add texture with a blanket or some kind of fabric within the shot. This not only adds depth and dimension to the image but also personalizes it and invites the viewer to imagine themselves cozied up with their very own album, soaking in the memories they will treasure for life!

above image by Melissa Jill Photography
5 -- Use blank space and the rule of thirds. The album doesn't need to be centered perfectly and doesn't need much more than it's own beautiful face! Try holding the album up against a white wall where you include the hands of a nearby willing person as props! This creates a very clean and simple image, where the album is the star of the show.
5 -- Use blank space and the rule of thirds. The album doesn't need to be centered perfectly and doesn't need much more than it's own beautiful face! Try holding the album up against a white wall where you include the hands of a nearby willing person as props! This creates a very clean and simple image, where the album is the star of the show.
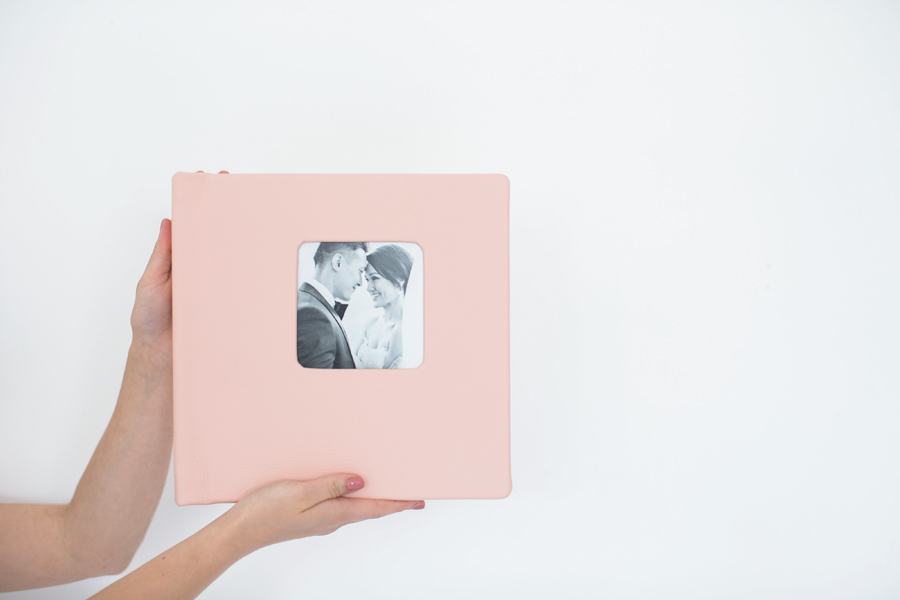
above image by Melissa Jill Photography
Photographing albums doesn't have to be an overwhelming or time consuming task. In fact, with a little bit of intention and creative thought, it can be kind of fun! Plus, the benefits of featuring a gorgeous album in a truly appealing way can be huge! Just like sharing sample albums with our clients during an initial client meeting, consistently sharing each clients' album through visually stunning images can be so helpful for getting clients to value them as much as we do!
Photographing albums doesn't have to be an overwhelming or time consuming task. In fact, with a little bit of intention and creative thought, it can be kind of fun! Plus, the benefits of featuring a gorgeous album in a truly appealing way can be huge! Just like sharing sample albums with our clients during an initial client meeting, consistently sharing each clients' album through visually stunning images can be so helpful for getting clients to value them as much as we do!
If you found this post helpful and would like to receive tips like these straight to your inbox, click here to sign up!
-----------
Blog post written by: Melissa Jill
Blog post written by: Melissa Jill
Why Quianna Marie outsources even though she LOVES designing albums

Quianna Marie is a wiz at all things business. She is one of our brilliant Client Advocates who shares killer educational content with other photographers and today she is sharing a peek into her album process along with a personal story about how and why she decided to outsource much of it. Without further ado, here is Quianna!
Wow! Thanks so much Quianna! It's SO helpful to hear about your process and how you have made outsourcing work for your business! Thank you for taking the time to share!
Quianna touched on so many topics we've talked about here on the blog. If you're interested in digging into any of these topics on a deeper level, click below to read more!
Four Tips for Getting Your Clients to Value Albums...and Buy One
So You Want to Raise Your Prices?
To Outsource or not to Outsource
How Outsourcing Helps you Make MORE Money in your Business
Never Wait on Clients to Pick Album Images Again
5 Tips for Picking Album Images FAST
Speedy Workflow = Happy Clients + Higher Sales
The following are some of our favorites spreads from one of Quianna's recent albums designed by Align and printed through ZNO.
Oh hey! I'm Quianna and I pick up every Starbucks order that looks like "Kiana!" I'm a wedding photographer, idea generator and kitchen dancer based in Scottsdale, Arizona and the Bay Area, California. I have an obsession for helping creatives turn their passion into their profession and believe weddings should FEEL better than they look! Just like my clients, I live for adventure, value quality time with family and friends and love a good cozy campfire under the stars.
When I first started my business I ran on my creative eye, personality and passion. Quickly, I started to feel burnt out and spread too thin as I managed my business like a one man band! Deadlines were the death of me and I felt like I just couldn't keep up.
One time, during a client meeting with a future bride and her mother I was stumped when her mother asked, "So I'm spending thousands of dollars to only get air" - She was referring to only receiving the digital images. I was baffled, not because it was a silly statement, but because it reminded me why I wanted to be a wedding photographer in the first place! I wanted to create an experience for my couples that truly felt incredible and to be able to document those feelings to last a lifetime.
Something was missing.
I wasn't including albums or even promoting them because they honestly scared me. Just as I was increasing my pricing, why would couples want to spend even MORE?
I knew I needed to find an opportunity to increase my value as a photographer, share the value of albums with my clients and somehow make this process stress free and streamlined.
Truthfully, I LOVE designing albums, but I kept putting this task on the back burner. Days turned into weeks and sometimes months would pass before I could even send a first draft to my clients. It just wasn't working!
Align was the answer to my prayers! Thanks to Align and their "Hands-off Service", their design team does all the communication directly with my brides ensuring they have an amazing album experience. This process can take as little as 2-3 days and I have a new record of getting albums into my clients' hands within about two weeks instead of 5-6 months after their wedding!
How It Works?
1. Once I deliver my Pixieset gallery to my clients I create a new folder, named "Album Design" This is where I hand select about 150 images from the day to copy into that new folder.
2. I shoot an email to Align and set up my design order. My designer just grabs and downloads directly from the Pixieset gallery!
3. Align creates a digital album design proof with the images beautifully curated for my couples to review. Clients can view this link from anywhere! It's just a kick start to visually see their album come to life! On average this can take a couple hours to a couple days, depending on when you send!
4. I allow my couples to pick and pull, add, and swap - making their album completely customizable! Many of my couples are blown away and don't even ask for adjustments.
5. Clients have at least two revisions to make swaps or any changes to their album. They're welcome to add additional pages to their album or images to their spreads. All communication is taken care of by Align!
6. Once approved, Align shoots over the spreads for me to download and start production of the album.
7. I have the albums shipped to me for approval, wrap them with a bow and slip a thank you note inside for that personal touch! I also encourage my clients to share a fun unboxing video to share their album online! They love it!
This whole process only takes about a month! Since I'm shooting about 25-30 weddings per year and the number of albums sold keeps growing, it's been a blessing to outsource this piece of my business! Plus, the way Align addresses and communicates with my couples they look like an extension of my brand, helping my clients feel well taken care of. This elevates my brand as well.
Thanks to Align I feel like I have my life back while providing a once in a lifetime experience for my couples.
Wow! Thanks so much Quianna! It's SO helpful to hear about your process and how you have made outsourcing work for your business! Thank you for taking the time to share!
Quianna touched on so many topics we've talked about here on the blog. If you're interested in digging into any of these topics on a deeper level, click below to read more!
Four Tips for Getting Your Clients to Value Albums...and Buy One
So You Want to Raise Your Prices?
To Outsource or not to Outsource
How Outsourcing Helps you Make MORE Money in your Business
Never Wait on Clients to Pick Album Images Again
5 Tips for Picking Album Images FAST
Speedy Workflow = Happy Clients + Higher Sales
The following are some of our favorites spreads from one of Quianna's recent albums designed by Align and printed through ZNO.


To see the design in full, click through the slideshow:
-----------
Design by: Andrea (View More) // Design style: Classic (View More) // Blog post written by: Melissa Jill
Design by: Andrea (View More) // Design style: Classic (View More) // Blog post written by: Melissa Jill
Elizabeth Gelineau's Six Tips for Styling Albums

We have seen SO MANY beautifully styled images of albums, but some of the best have to be from Mobile, Alabama-based Elizabeth Gelineau. Her styled flatlay images have us swooning and we are so excited to share her tips for creating these types of images in today's post!
Two weeks ago we shared the first part of this series where Elizabeth talked about why she takes time to photograph all of her clients' wedding albums and the various ways in which she uses the images to educate her clients and market her brand. You can get caught up on that post here!
And here is Elizabeth to share six tips for styling beautiful images of albums:
I have always loved styling detail shots on wedding days, and I've taken that same approach with the album images I create. My basic set up for photographing albums involves a window with indirect light (a north-facing window in my office is my favorite) with a white reflector placed opposite the light source. This gives nice even lighting across my flatlay scene. If I need to photograph an album at night, or on a stormy day, I will set up my Profoto B1 with an extra large parabolic umbrella fitted with a double diffusion material to create my own soft light.
I love styling flat lays so I use this time to get creative. Sometimes I have plenty of free time to shoot an album during the week when it arrives. Other times, an album arrives during a hectic season. When that happens, I take a more minimalist styling approach. If I receive multiple albums at once, I take that as an opportunity to style a scene that includes more than one album! Here are my go-to tips for styling album flatlays:
1 - Select a background that will complement the album cover material and the color theme of the wedding.
The first element I choose when setting up to photograph an album is a background board. I have several linen boards I've made myself, as well as a couple from Heirloom Bindery. I also love the faux marble board by Replica Surfaces and the suede styling mats from KISS Books. The background provides a neutral background for the album flatlay. I often choose a color that will compliment both the album's cover material and the photographs that are inside the album. For a super clean background and a light and airy look you can even use a piece of white foam board from the craft store.

2 - Select a ribbon that compliments the color of the wedding and cover material.
I almost always use ribbons in my album flatlay images. I love the texture they provide! I often use the same ribbon on an album flatlay that was used on the wedding day for bridal detail photos. My styling kit has a variety of neutral tones, as well as various shades of pinks, blues, and greens. My favorite sources for styling ribbons are Honey Silks Co., Illume Silks, and Silk & Willow. I also love using styling cloths, or scraps of tulle purchased from a fabric store. A fourth of a yard will give you plenty of material to work with for flatlay styling.
I almost always use ribbons in my album flatlay images. I love the texture they provide! I often use the same ribbon on an album flatlay that was used on the wedding day for bridal detail photos. My styling kit has a variety of neutral tones, as well as various shades of pinks, blues, and greens. My favorite sources for styling ribbons are Honey Silks Co., Illume Silks, and Silk & Willow. I also love using styling cloths, or scraps of tulle purchased from a fabric store. A fourth of a yard will give you plenty of material to work with for flatlay styling.


3 - Select props that won't pull attention away from the album.
Build a styling kit for flatlay photography and pull from that when it's time to photograph your album. I love having wax seals on hand (I have these in my personal stationery kit), as well as an assortment of small ring dishes, trays, and vintage stamps. I also have a small collection of scissors that I love to use! If you're starting to build your styling kit, check out local antique stores and stores like Home Goods, TJ Maxx and Marshalls. The clearance aisles at these stores are my favorite spots for prop hunting! I frequently pull in my own personal items as well, such as jewelry, stationery, or journals.
If I have extra time, I'll often pop outside to forage for a few stems of greenery, or blooms from my garden. If I have multiple albums to photograph at one time, I may stop by my local florist to buy a stem of eucalyptus, or tea roses. For less than ten dollars I can have floral elements that can elevate the styled shot. When working with florals, I am extremely careful to not let the flowers and greenery touch the album. I'm especially careful to not select blooms with a lot of visible pollen, which could easily stain the album.
If I was sent a copy of the wedding invitation, or save the date card before the wedding I try to incorporate that into the album flatlay. I've also used koozies or a program from the wedding day when I had them on hand.


4 - Use styling blocks to keep the album level.
Styling blocks are the key to keeping the album level. Without them the book tends to tilt to one side or the other when not opened to the middle spread. I also use styling blocks to elevate some of my props, giving a layered look to the flatlay.
Styling blocks are the key to keeping the album level. Without them the book tends to tilt to one side or the other when not opened to the middle spread. I also use styling blocks to elevate some of my props, giving a layered look to the flatlay.

5 - Use a tripod so that your hands are free to adjust props.
If you're new to styling flatlays, you may find it helpful to use a tripod and live view on your camera to see the composition and placement of props before actually taking the photo. My favorite tripod is a Manfrotto model and I use a cross bar from Tether Tools to position my camera directly over the album (with a five pound counterweight placed opposite the camera to make sure the tripod doesn't tip over from the camera weight).
If I'm pressed for time, I keep the styling super simple and shoot free-handed, often using live view. I make sure to enable the grid in live view for shooting freehanded so I can use the lines to ensure I'm holding the camera as level as possible and keeping the framing the same for each spread I'm photographing. For flatlays, I'm usually shooting at an aperture between f/3.2 and f/4.


6 - When in doubt, keep it simple.
Sometimes I have a whole flatlay styled and then realize I have too much going on in the scene. Don't be afraid to keep things simple. My very first album images incorporated more props, but I've gravitated to a simpler style over time. I also frequently photograph the album on a plain white board with no props so that I can pair them together for using on my album website in a way that will look cohesive.
Sometimes I have a whole flatlay styled and then realize I have too much going on in the scene. Don't be afraid to keep things simple. My very first album images incorporated more props, but I've gravitated to a simpler style over time. I also frequently photograph the album on a plain white board with no props so that I can pair them together for using on my album website in a way that will look cohesive.

Wow! I'm feeling SO inspired! Thank you so much for sharing your best tips for creating beautiful flatlay images of albums, Elizabeth!
To see more of Elizabeth's beautiful work, make sure to follow her on Instagram here!
-----------
Design by: Andrea (View More) // Design style: Classic (View More) // Blog post written by: Melissa Jill
Design by: Andrea (View More) // Design style: Classic (View More) // Blog post written by: Melissa Jill
Morgan O'Neil on Getting Your Clients to Purchase an Album
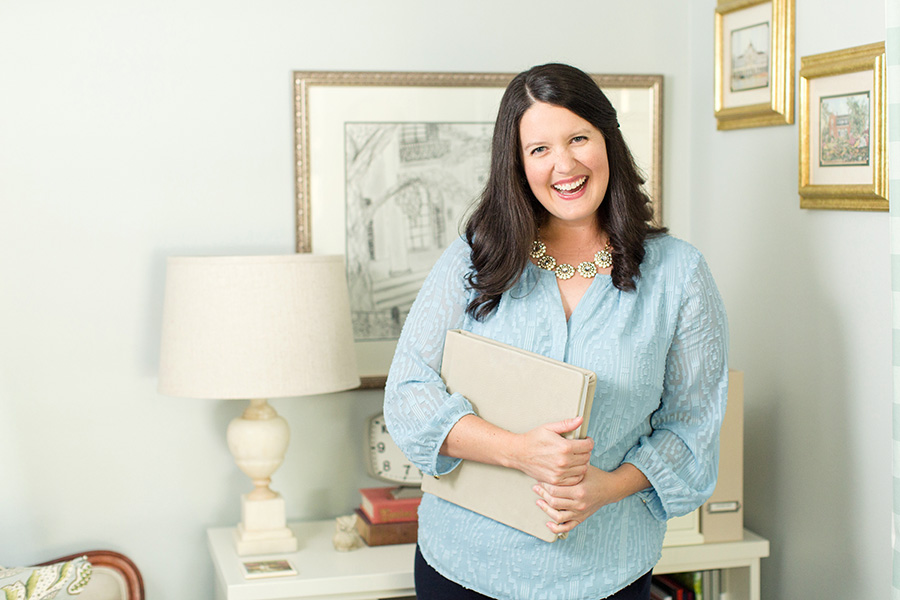
This talented lady started selling albums the first year she was in business and has sold them to 80% of her wedding clients year over year. We love working with her and thought we'd invite her to share what has worked for her! Without further ado, here is Morgan O'Neil!
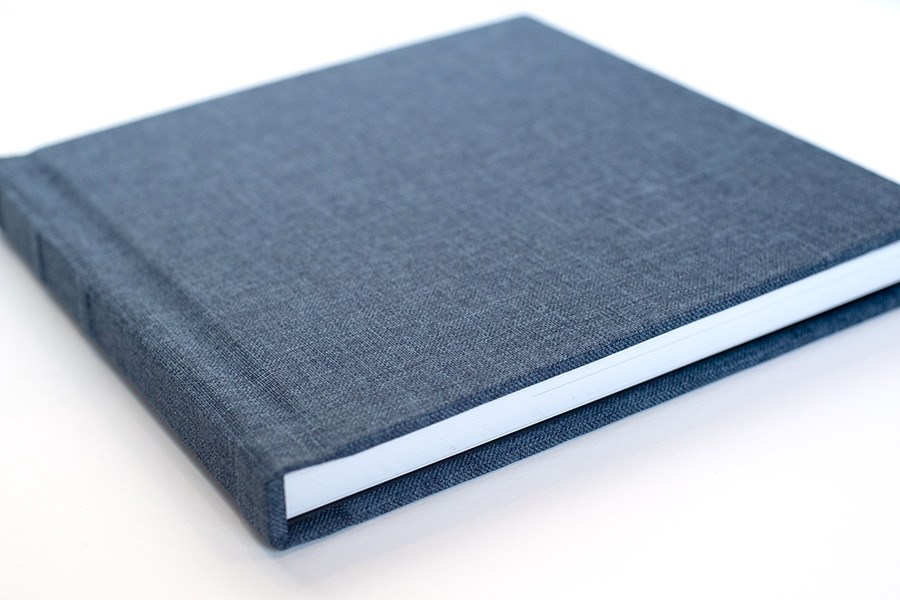
Hi! I'm Morgan and I am a wedding photographer based in the coastal New England town of Duxbury, MA, just south of Boston. I primarily photograph weddings all over the Boston area and also a few in the Palm Beach, Florida area in the winter months (my second home!) I really focus on capturing mostly fun and real moments throughout the day, with fewer posed portraits and details. A lot of my clients come to me because they don't really like getting their photo taken, and they want the formal portraits to be quick and easy. This is why I like to focus on mostly candid moments throughout the day.
I typically photograph 25-30 weddings a year, and about 80% of my clients purchase an album. Two out of the three packages I offer come with an album, so it is a pretty easy decision for most of my clients unless they are just looking for the basics. I've been told by clients that this sets me apart, as many photographers that they talked to only offer albums as an add-on, or don't offer them at all. For me, the best way to encourage clients to book a package that includes an album is to show them albums in person. Most couples have never seen or held a modern day wedding album, and they are blown away by the quality and can start to visualize their own photos in the book.
I started offering albums right away the first year I started my business. I didn't know much about the industry when I first started, but I knew that albums were important and I wanted them to be a part of my business. My biggest struggle off the bat was taking too long to get couples their album design. They would move on to other things in their busy lives and I would have trouble getting them to approve or make changes to their design. Album designs could drag on sometimes for over a year. I started using Align a year ago and it completely transformed my business. Now I can get designs out quickly after delivering photo galleries, and my clients are still super excited about their photos and ready to quickly make decisions about their design and finalize things. Using Align has freed up so much time in my business that I can not afford to not use this service.
The one thing I would say to a newer photographer who wants to offer albums is to just start. And keep it super simple at first! When I began, I had 2 packages, one included an album and one didn't. I only offered 1 album and the clients only had to make 1 choice between 4 colors for the cover. I purchased a sample of that album before ever selling one which was scary to do, but I knew I had to show it to couples in order for them to want to buy one. I hope my experience can be helpful for other photographers considering offering albums in their business!
Wow! Thanks so much Morgan! It's SO helpful to hear what has worked for you and led to your amazing success with albums! Thank you for taking the time to share!
Morgan touched on so many topics we've talked about here on the blog. If you're interested in digging into any of these topics on a deeper level, click below to read more!
Four Tips for Getting Your Clients to Value Albums...and Buy One
How Many Album Options Should I Give My Clients?
The #1 Key to Selling Albums
To Outsource or not to Outsource
How Outsourcing Helps you Make MORE Money in your Business
Speedy Workflow = Happy Clients + Higher Sales
The following are Morgan's photographs of one of her recent albums designed by Align and printed through Design Aglow.
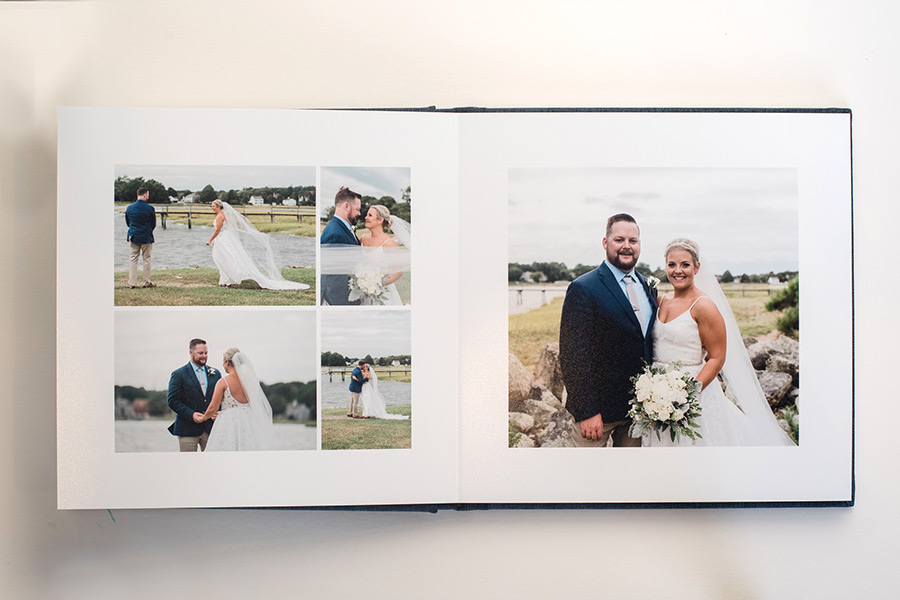
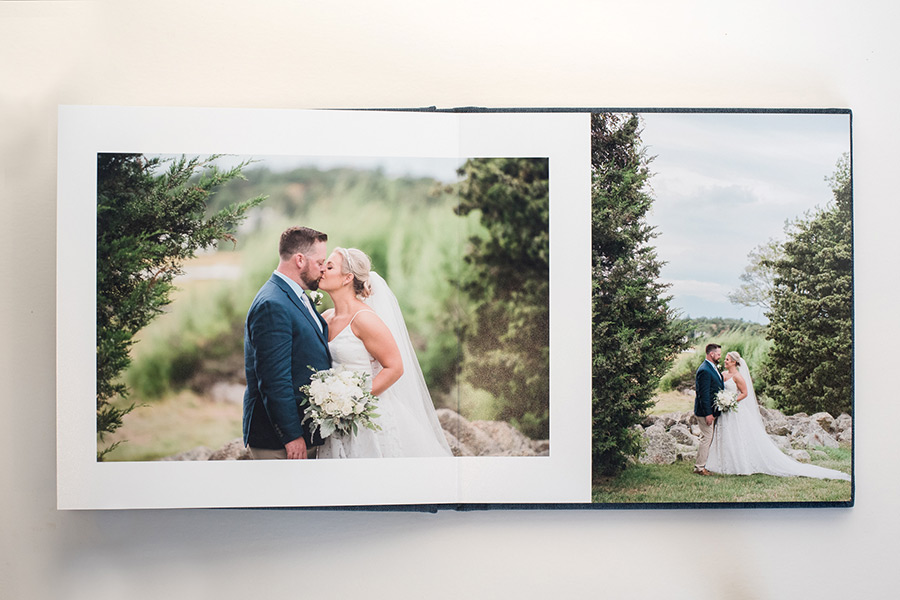
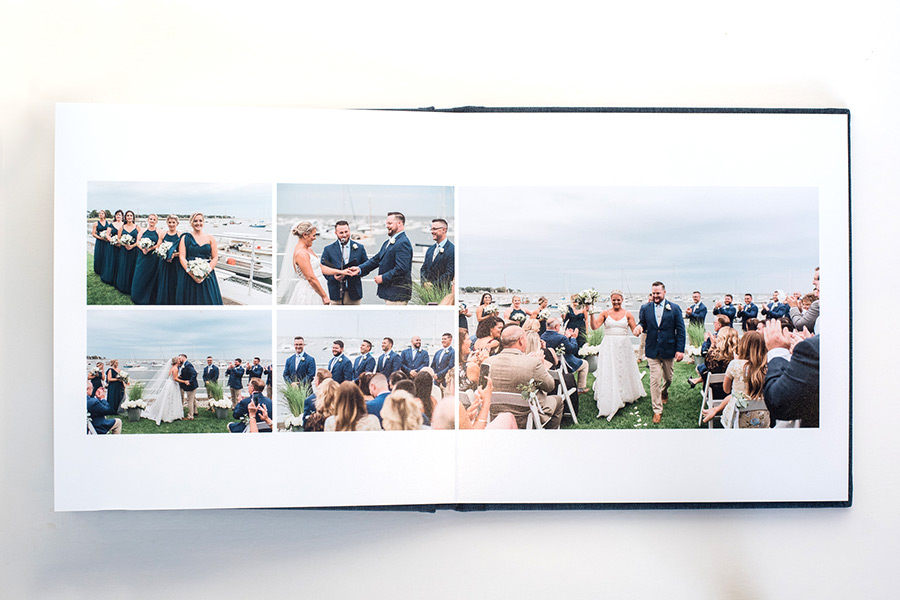
To see this album design in its entirety, click through the slideshow:
Thanks again Morgan! We love working with you!
Thanks again Morgan! We love working with you!
-----------
Design by: Andrea (View More) // Design style: Classic (View More) // Blog post written by: Melissa Jill
Design by: Andrea (View More) // Design style: Classic (View More) // Blog post written by: Melissa Jill
Elizabeth Gelineau on Why She Photographs All her Albums
above photo by Deborah Michelle Photography
Mobile, Alabama-based wedding photographer Elizabeth Gelineau always sends us the most BEAUTIFUL images of her finished wedding albums. She clearly has a passion for styling and photographing albums so we asked her if we could pick her brain and share some of her tips with you.
We've talked in the past about the importance of sharing your passion for albums with your clients as well as tips for photographing them and Elizabeth is an amazing example of how doing these things well can really drive your album sales and help get albums into the hands of all of your clients! We've worked with Elizabeth for three years now and last year alone she delivered 15 albums to her clients!
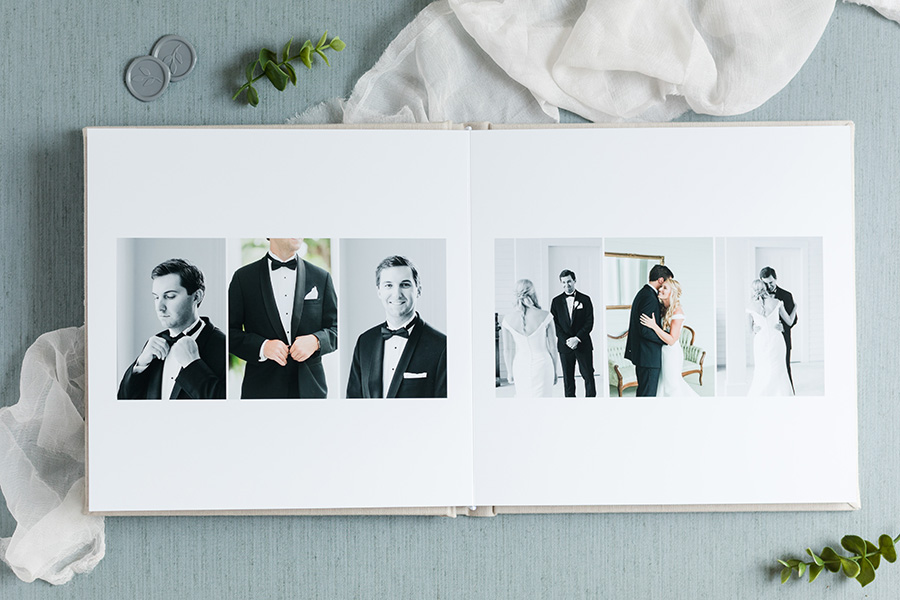
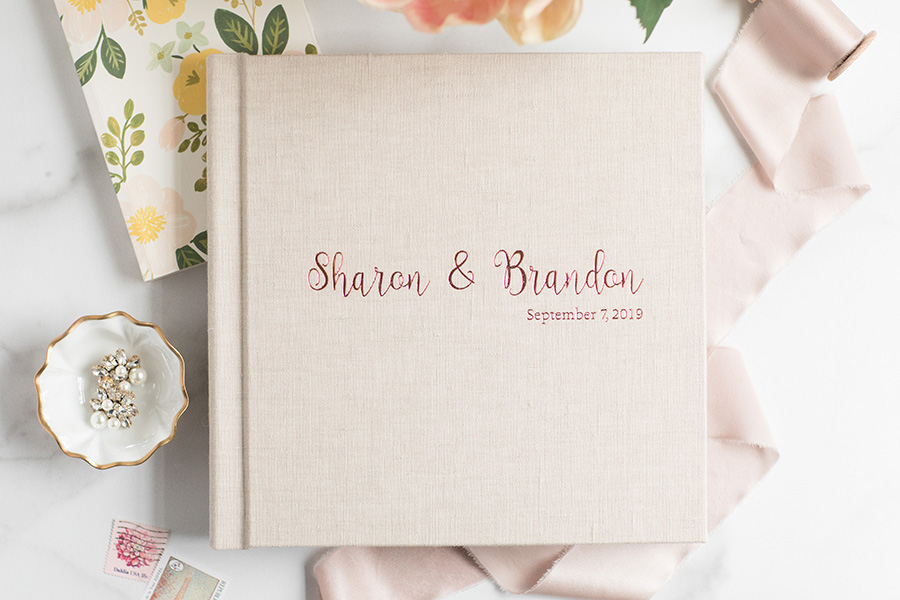
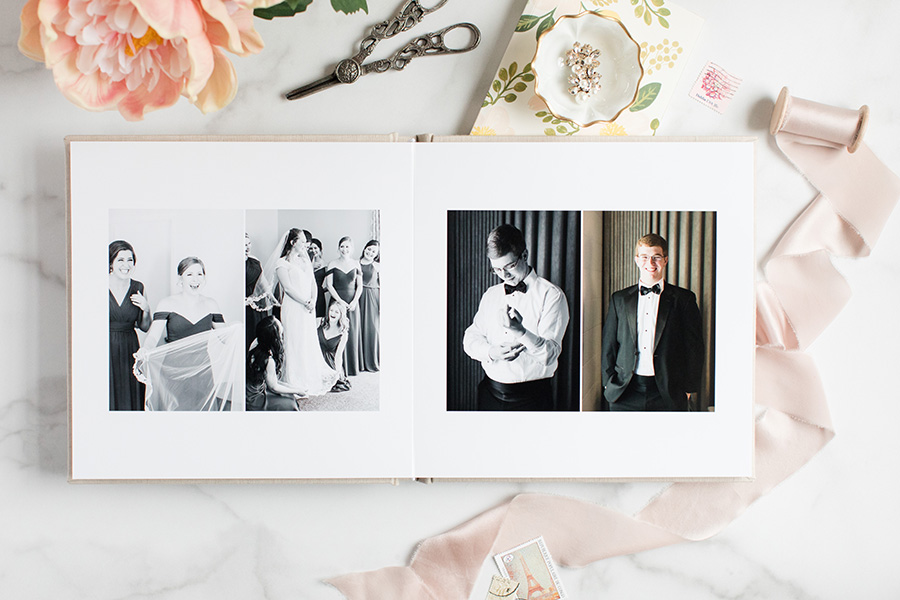
Elizabeth has so much valuable insight to share, that we decided to divide it up into a 2-part series. Today she will be sharing why she photographs albums and how she uses the images and very soon she will be sharing all her album styling tips for getting beautiful flatlay images like this one:
Mobile, Alabama-based wedding photographer Elizabeth Gelineau always sends us the most BEAUTIFUL images of her finished wedding albums. She clearly has a passion for styling and photographing albums so we asked her if we could pick her brain and share some of her tips with you.
We've talked in the past about the importance of sharing your passion for albums with your clients as well as tips for photographing them and Elizabeth is an amazing example of how doing these things well can really drive your album sales and help get albums into the hands of all of your clients! We've worked with Elizabeth for three years now and last year alone she delivered 15 albums to her clients!
Elizabeth has so much valuable insight to share, that we decided to divide it up into a 2-part series. Today she will be sharing why she photographs albums and how she uses the images and very soon she will be sharing all her album styling tips for getting beautiful flatlay images like this one:
So without further ado, here is Elizabeth!
I always hate parting with an album once it's made its way to my office. Yes, I'm happy for my couples to receive this gorgeous heirloom full of their wedding day photos, but I secretly wish I had a copy for myself as well. The wedding album is a curated collection of the best of the best images from a wedding day. It's like a mini portfolio for each wedding and seeing my work in print is so rewarding! Since it's not possible to have a sample album for each wedding, I photograph the albums before I package them for shipping to my clients.
Photographing albums has become something I look forward to, but the images aren't just for archiving purposes. I can use them in multiple ways on my blog, website and social media posts. It takes me about an hour to set up and photograph one album. That includes setting up my background, choosing any props, taking the photos and then the post-shoot cleanup. It's a small investment of time to create images that will work overtime for me later.
Here are some of the various ways I use album images:
1 - On My Blog
I use album images on my blog to create educational posts, both for my brides and for anyone who is passionate about printing photos. I want every bride to print their wedding photos and a wedding album is a great way to preserve the overall story of your wedding day. Showcasing albums in a blog post allows me to talk about the importance of albums, as well as showcase my wedding photography. It also becomes a resource for my clients, who are often working on their album order long-distance. Being able to see the finished version of an album in a cover material they're considering for their own album is so helpful. If you create a blog post featuring a client's album, be sure to link back to their original wedding blog post so that a viewer can see more of that same wedding.
Click here to see one of the album features on my blog!
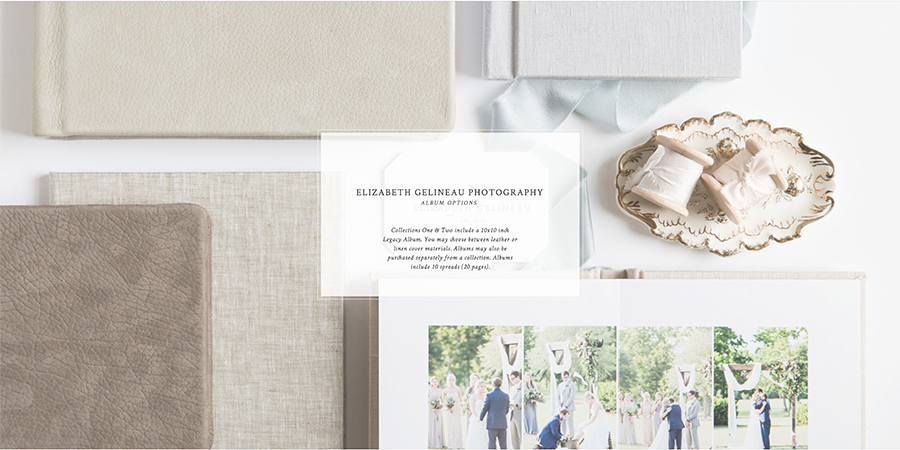
2 - On My Website
After receiving the same questions about album options from multiple brides, I went in search of a solution that would save me time and answer their questions. When I found the album website template from Davey & Krista's online shop, I knew I'd found the perfect solution. The site is designed to provide clients with all the details about album options and is customizable to your album company, what you offer your clients, and your own pricing. I was able to put in the cover color options using stock images from my album company and then add images I'd taken of my client albums to round out the album website. Since I already had a catalog of photos of my client albums, I had this new page up and running in less than a couple of hours.
After receiving the same questions about album options from multiple brides, I went in search of a solution that would save me time and answer their questions. When I found the album website template from Davey & Krista's online shop, I knew I'd found the perfect solution. The site is designed to provide clients with all the details about album options and is customizable to your album company, what you offer your clients, and your own pricing. I was able to put in the cover color options using stock images from my album company and then add images I'd taken of my client albums to round out the album website. Since I already had a catalog of photos of my client albums, I had this new page up and running in less than a couple of hours.
3 - On Social Media
Who doesn't love a beautiful flatlay image in their social media feed? In addition to using the album photos on my blog and the album website, I make sure to share them on social media and write captions for those posts that talk about albums, often addressing frequently asked questions. I also love showcasing the beautiful work done by Align when it comes to the design of my albums! (Click here to follow Elizabeth on Instagram and see how she showcases albums so well!)
Who doesn't love a beautiful flatlay image in their social media feed? In addition to using the album photos on my blog and the album website, I make sure to share them on social media and write captions for those posts that talk about albums, often addressing frequently asked questions. I also love showcasing the beautiful work done by Align when it comes to the design of my albums! (Click here to follow Elizabeth on Instagram and see how she showcases albums so well!)
4 - In My Collection Guide & Bridal Guide Magazines
My Collection Guide and Bridal Guide magazines both include information on wedding albums. I use photographs I've taken of my client albums in both of these printed booklets. I certainly could have used stock photos in these templates, but it's much more impactful to have photographs featuring albums that have been ordered by past clients than it is to insert a generic album image.
My Collection Guide and Bridal Guide magazines both include information on wedding albums. I use photographs I've taken of my client albums in both of these printed booklets. I certainly could have used stock photos in these templates, but it's much more impactful to have photographs featuring albums that have been ordered by past clients than it is to insert a generic album image.
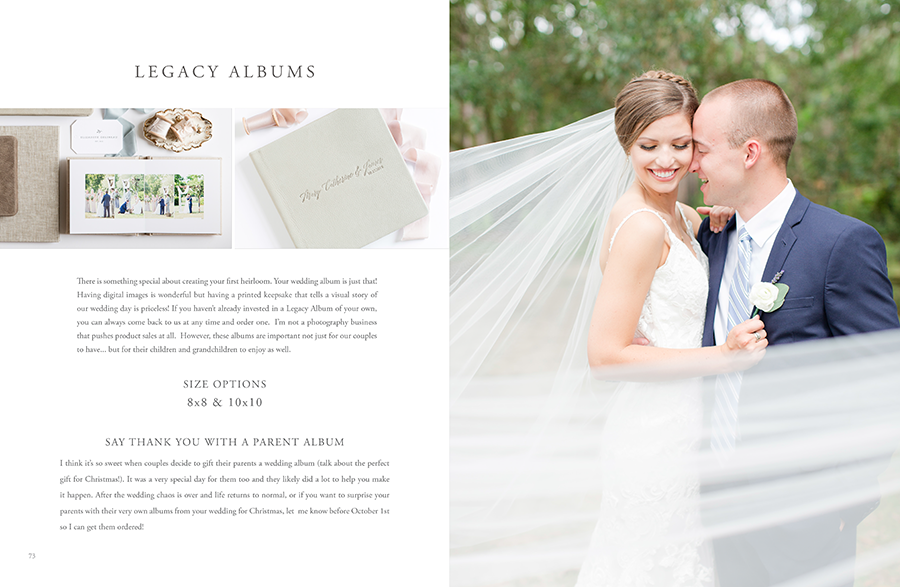
(Bridal guide layout by Katelyn James)
As you can see, there are SO MANY ways that I love to use images of my albums. It's been so valuable to take time to build up a portfolio of beautiful photos to share with my clients and for marketing purposes!
Wow Elizabeth!! Thank you so much for sharing! This has been so helpful! I especially love what you shared about how using these images helps you give your current and upcoming clients an elevated experience by allowing them to see so many beautiful examples of album covers and envision what their own wedding album could look like! That is such a time-saving tip!
Stay tuned....We will be sharing part 2 on how Elizabeth styles her flatlay album images very soon!
-----------
Design by: Andrea (View More) // Design style: Classic (View More) // Blog post written by: Melissa Jill
Design by: Andrea (View More) // Design style: Classic (View More) // Blog post written by: Melissa Jill